
|

|

|
|
|
|
|
| Home | Manuals | Supplies | Search | Consult | Contact | Testing | Service |
|
One of the first questions I asked a professional player piano technician back in 1969 was, "Is there any way to revive old, stiff bellows cloth that seems to be intact?" The answer I've heard for the last 40 years is an emphatic, "NO!" Well folks, that's about to change. For nearly five years I've been using a product that actually 'Rejuvenates Old Bellows Cloth'. Does it make it like new? No, but it does make it usable, and the product and technique I use to revive otherwise useless bellows cloth has worked so well that I'm presenting it to the world in this web page.
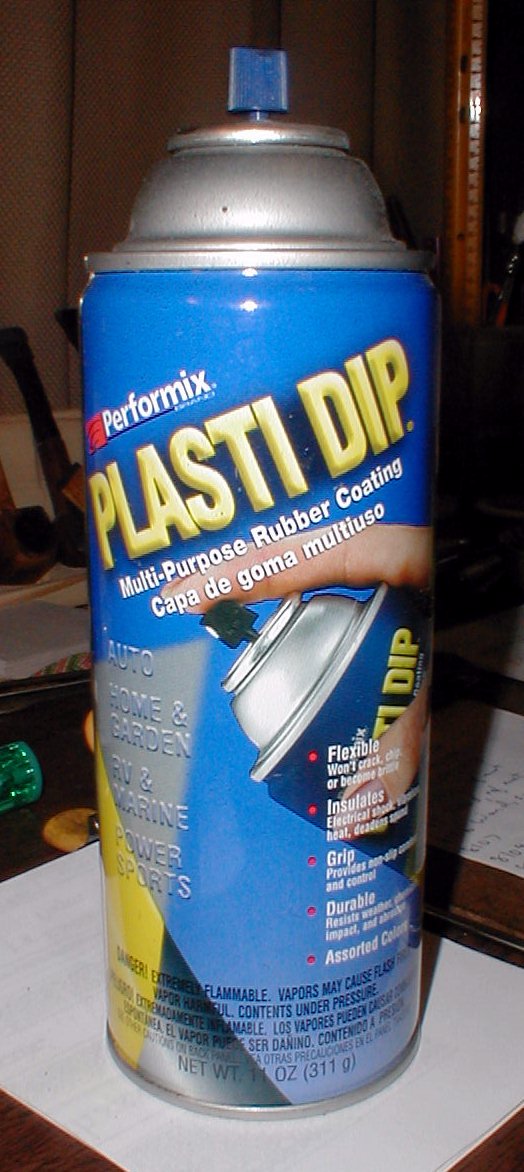
In order to avoid using the actual name of the product, I'll just say that it's very common, it's available at every building materials store, and it's probably in the tools section. Why? Because it's used to put a rubber coating on the handles of just about every kind of hand tool imaginable. Also, now it's available in a convenient spray can as well as in a pint can. Before the spray can version, it only came in a can, and you had to "DIP" the end of the tool in the can. (That's all the clues I can give you!) I recommend the spray can because it makes spraying on an even layer very easy. However, you can also spray the product into a small can or jar and paint it on the cloth with a brush. That works well for areas where spraying might get the product on things that you want to keep clean.
The 'technique' I use is simple. Just open the bellows as far as it will open and spray an even coat over all of the cloth. Then let it dry. Then give the cloth another coat of spray, and let it dry. It generally takes about ten minutes for a coating to dry. Keep coating the cloth until you can no longer see the weave of the cloth when the product is dry. (That means it has soaked into the cloth and created an air tight layer of rubber.) If there is slight cracking of the cloth at the folds, I recommend painting on a 1/4" to 1/2" wide layer over the crack. (Depends on the size of the bellow.)
How well does this really work? Almost five years ago I coated a reservoir bellows with ten coats of spray. The cloth was very stiff and leaking so badly that it wouldn't hold a vacuum for even one second. Nearly five years later, it still holds a vacuum for over twelve seconds, and the cloth is no longer stiff. I learned about the product from a gentleman who collects and restores antique automobiles. He had used it on the original cloth top of an antique car made in the 1920's. Today, the top looks almost new, it doesn't leak, and it's flexible. While repairing a nickelodeon he had just purchased, I found that the reservoir bellows was leaking badly and recommended that it be recovered. He told me to go to lunch and come back in an hour. When I returned, the tan colored cloth on the reservoir was black. I asked him what he did. He said, "Test it!" So, I did. To my amazement, it was flexible and air tight. Then he told me what he used, and showed me the antique car top. I was sold on the idea, but I wanted to test it more thoroughly. Now that almost five years have passed, and all of the bellows I've coated are still working great, I feel it's time to 'let the genie out of the bottle'.
HOWEVER, all of the above is not what stimulated me to write this web page. Today, I discovered another trick. This is still in the experimental stage, but it worked so well that I have to tell people. Today I was working on an old air motor that had small rips in the material at the folds across the span of the bellows. Normally, this 'demands' that the cloth be replaced. But, the very elderly customer didn't have the money, and all he wanted was to hear the music play again. Since the cloth was stiff, I decided to spray it and hope for the best. Then I got an idea, and a question. Would thin plastic wrap stick to the spray when it was still wet? So, I tried it. Sure enough, it stuck. So, I sprayed on a relatively thick coat of 'dip' and applied a 'bandage' of plastic wrap. When it dried, the 'bandage' was firmly in place. The combination of the spray coating and the bandages on all five bellows worked much better than I had hoped. The motor ran smooth, and eliminating all of the vacuum leakage improved the performance of the machine by 20%-30%. How long will it last? I have no idea. I figure it will be good for about 5 years under normal usage. If it fails, I'll remove this long paragraph from this web page.
I don't like contradicting myself or sounding like I'm speaking out of both sides of my mouth, but it has come to my attention that some people are using "the product" in the hope of making something that's already 'good' even 'better'. I do not recommend such action. As I will state again below, "the product" should be used as a "stop-gap" measure, not a maintenance procedure. Also, if your cloth is already supple, applying "the product" will, as explained below, make it stiffer. However, on the other side of the coin, if the cloth is very stiff, "the product" will make it
more supple.
Let me preface the explanation of how to use "the product" by saying; There's an old saying that goes, 'If it ain't broke, don't fix it'.
Before I would use "the product" to seal a bellows, I'd make certain it needed to be sealed. It should be understood at the outset that sealing bellows cloth is a "stop-gap" measure, not a maintenance procedure. No matter how good a sealer is, applying it to cloth "will" make the cloth stiffer by virtue of the fact that you're adding 'mass' to the cloth. So, before you consider using the product, test the lower section. See:
https://www.player-care.com/lowersec.html (Testing the Exhauster Assembly)
Using "the product" is fairly easy. I normally spray it from the can into a small jar. Then I take a small 1" throw-away brush and brush the sealer onto the cloth as evenly as possible. After the first coat has dried, I apply a second coat to the area where the cloth folds. That's where most of the leakage normally occurs. After the second coat is dry, test the assembly and note any improvement.
Typically, if the cloth is pretty worn out, you can actually see the sealer 'soak' into the cloth instead of sealing it on the outside. That's because it's soaking 'through' the layer of rubber, that's between to two pieces of cloth, and being absorbed by the inside layer of cloth. And, if that's the case, it's really best to seriously consider replacing the cloth. Remember, the original heavy cloth had a 0.025"-0.035" layer of rubber between the two pieces of cloth. The sealer is only going to provide a 0.003"-0.005" layer of rubber.
Just so there is no misunderstanding, Player-Care is NOT responsible for anything that happens when "the product" is used. Every effort has been made to try to help people understand the capabilities and limitations of "the product". How, when, and where you decide to use it is completely up to you. If you have a question or concern prior to using "the product", write to John Tuttle.
|
|
In closing, here's my response to a recent email from a gentleman who said that his bellows had gotten stiff from lack of use. He wanted to know if there was something he could 'dress' the bellows with to 'un-stiffen' them.
|
| Player Piano Reference Materials - Click Here |

![]() ..To
The Top of this Page . . . . . . . . . . .
..To
The Top of this Page . . . . . . . . . . . ![]() ..To The HOME Page
..To The HOME Page
|
Since "Player-Care" is an internet business, I prefer that we correspond via E-Mail (click here to fill out the 'Request Form'). However, if I'm not in the middle of some other activity, you can reach me at 732-840-8787. But please understand that during the hours from 8AM-5PM EST (Mon-Sat), I'm generally quite busy. So, I probably won't answer the phone. If you get the answering machine, please leave a detailed message stating the reason for your call. Also, repeat your name and phone number clearly and distinctly. By necessity, I prioritize everything in my life. And, if you call and just leave your name and number, and ask me to call you back, it might be a day or two before I return your call. Why? Because I don't know why you want me to call and I might not be prepared to assist you in an effective and efficient manner. If you leave me an E-Mail address (which I prefer), spell it out phonetically. The more you do to help me, the more I can help you in return. Don't rush. You have four minutes to record your message. |
|
407 19th Ave, Brick, NJ, 08724 Phone Number 732-840-8787 (Voicemail Only, No Texts) |
