|

|

|
|
|
|
|
| Home | Manuals | Supplies | Search | Consult | Contact | Testing | Service |
|
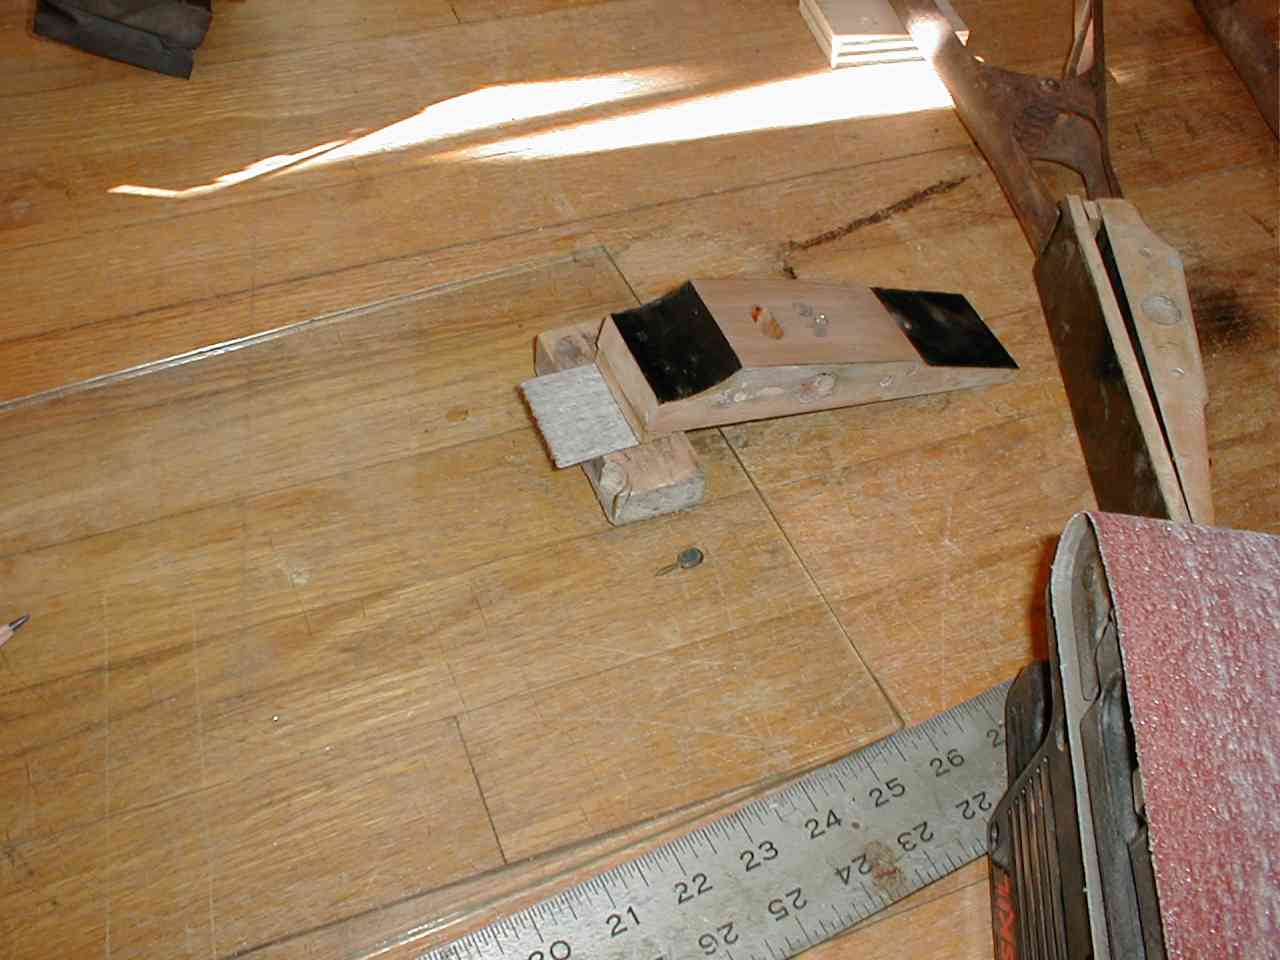
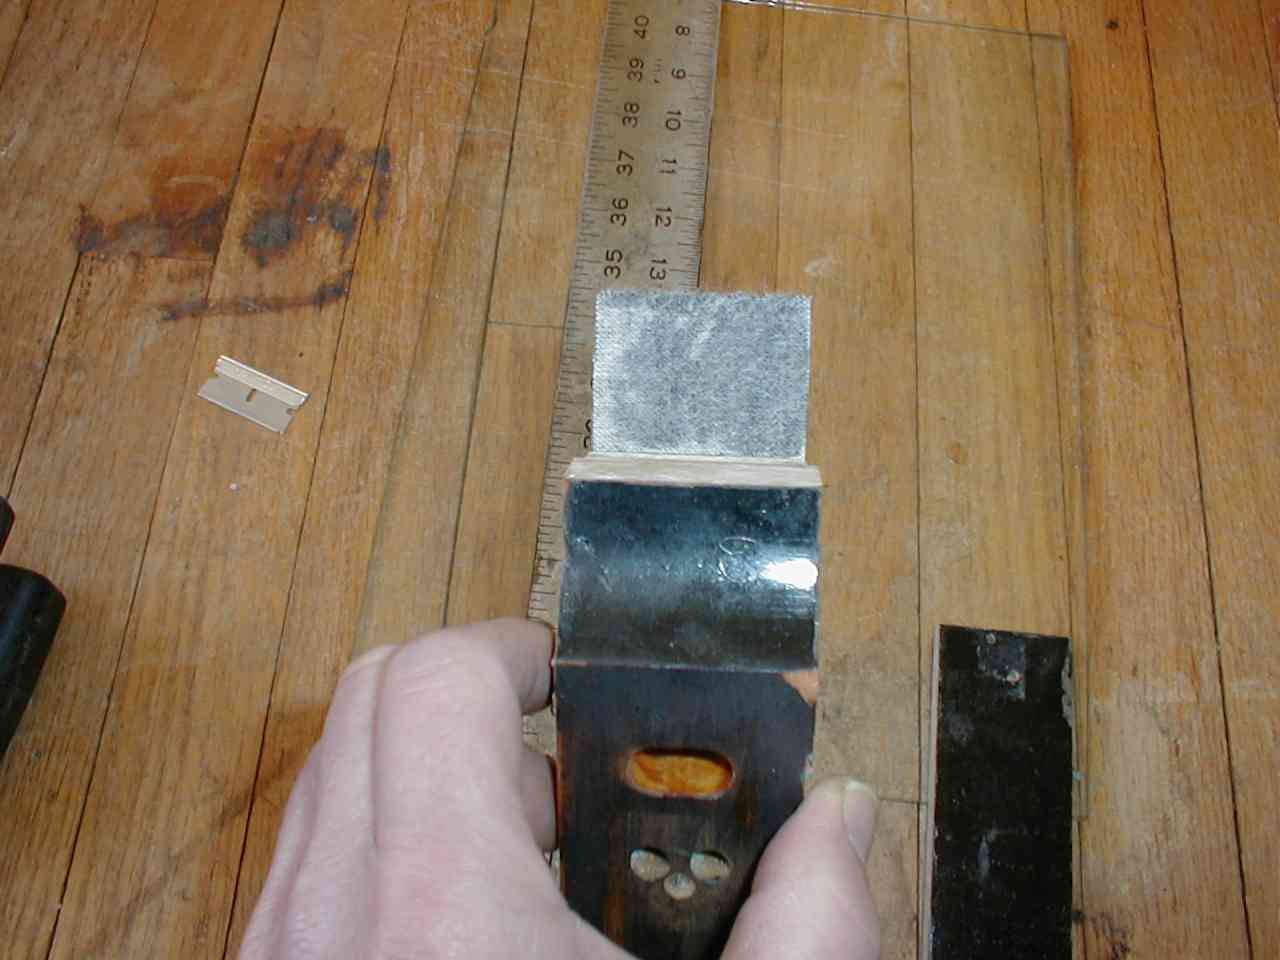
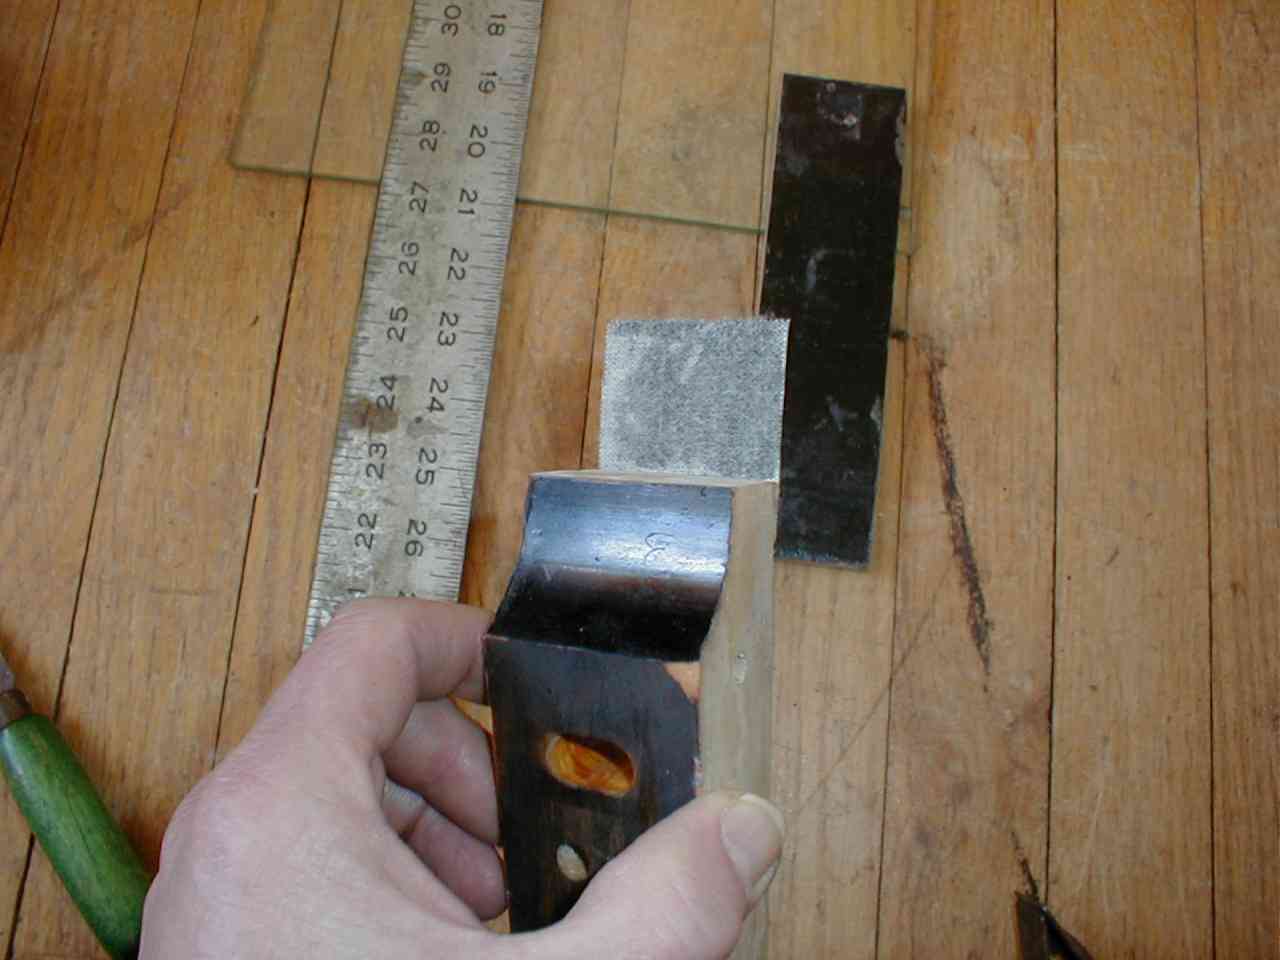
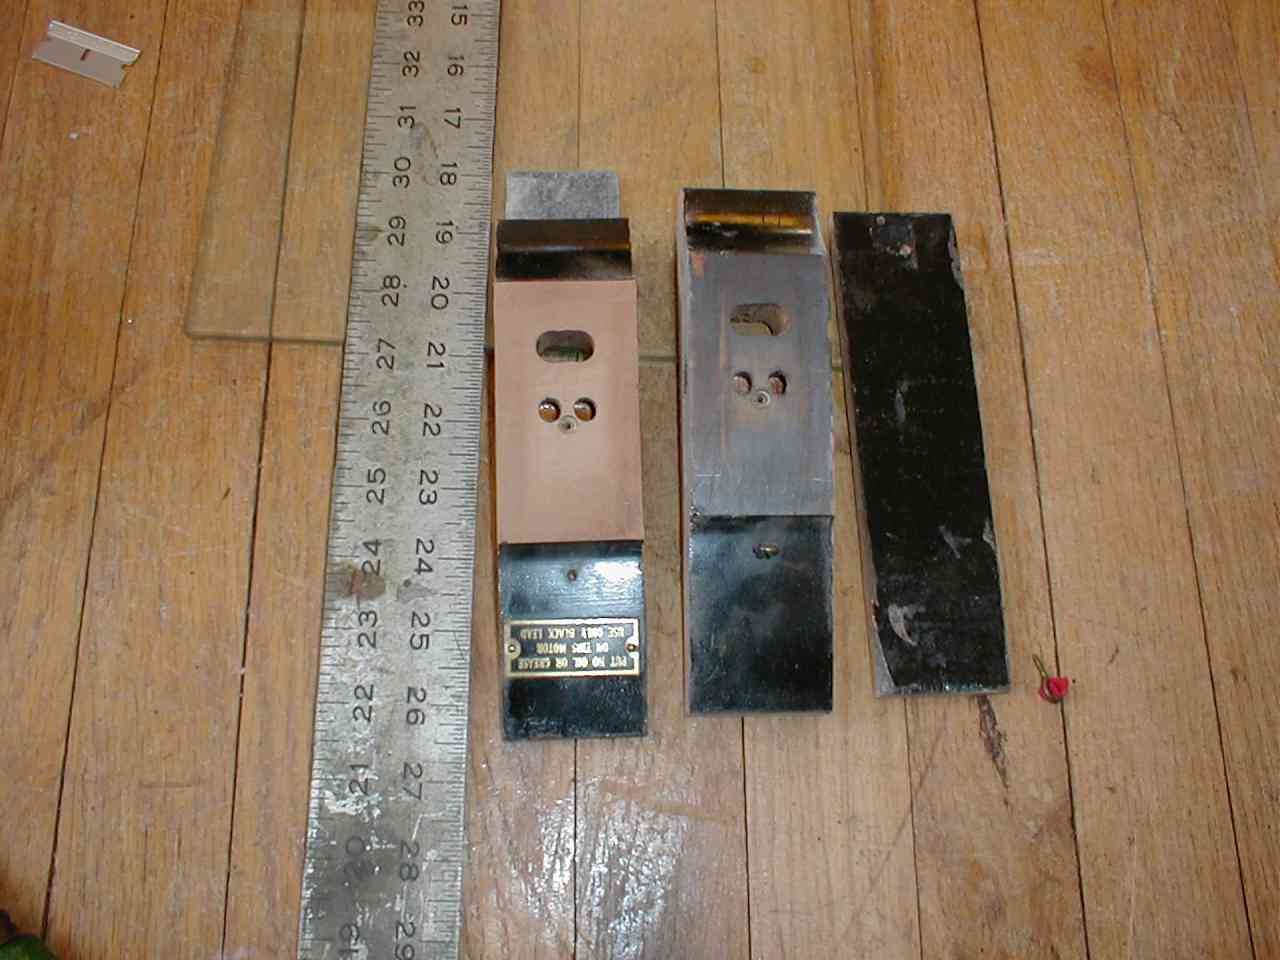
The thumbnail pictures below show the steps involved in recovering a complex bellow. The various steps are explained below the set of photos. While it is quite a bit more involved than a simple bellows, the basic steps are the same. The see a much larger view of each picture, simply click on the thumbnails picture. Then use your browsers Back button to return to this page.
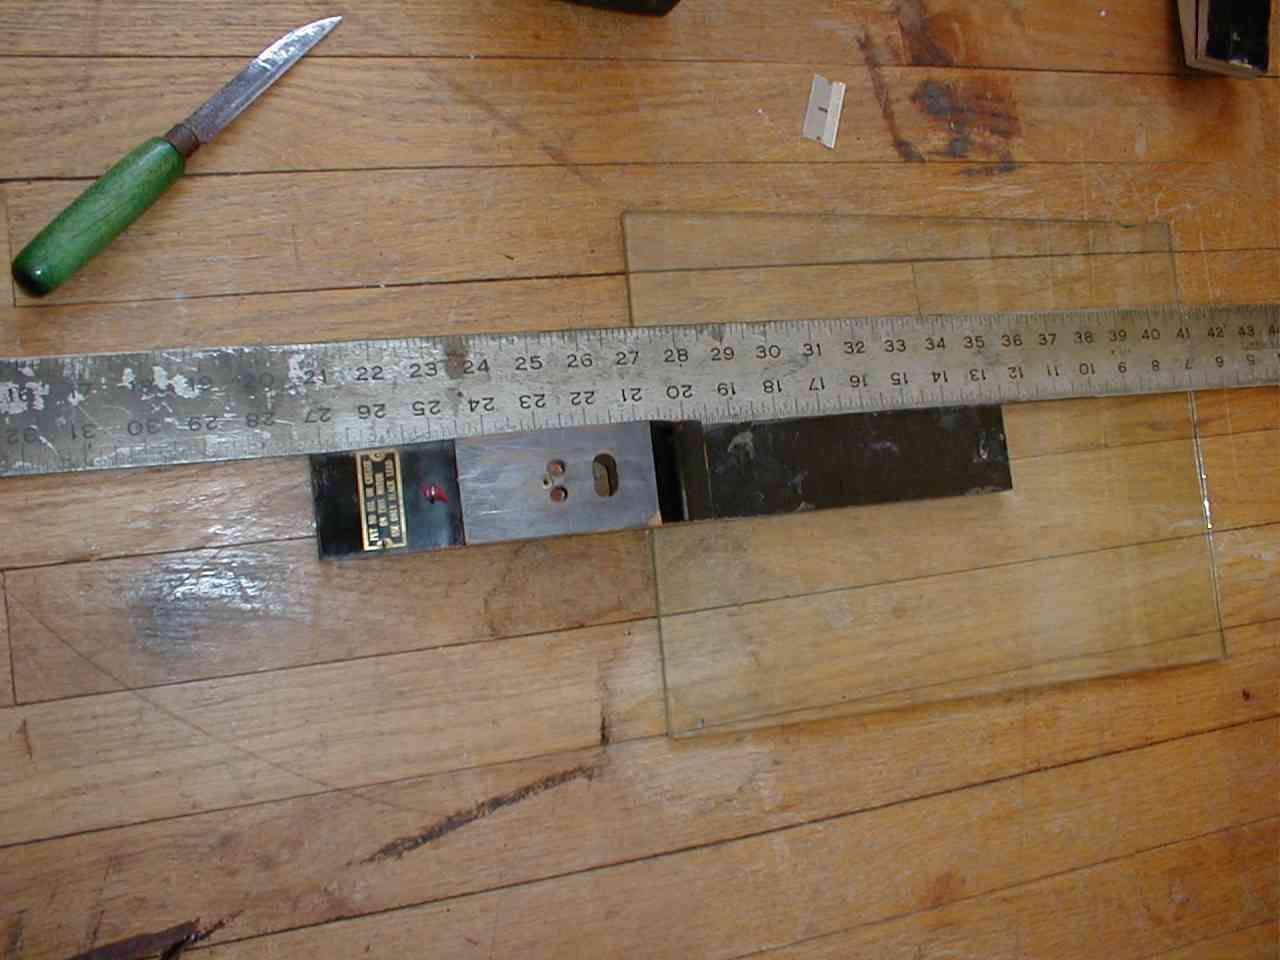
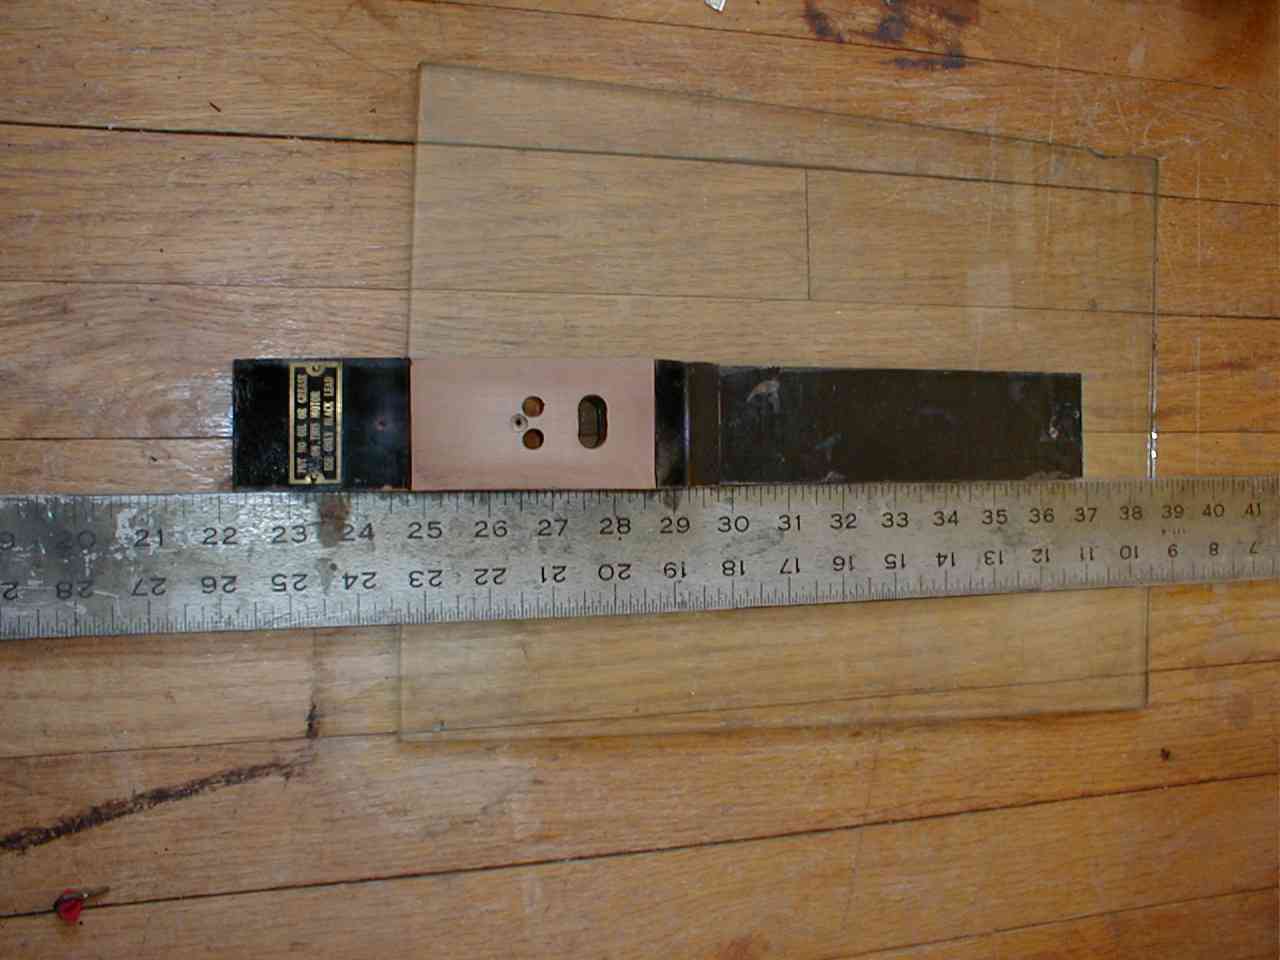
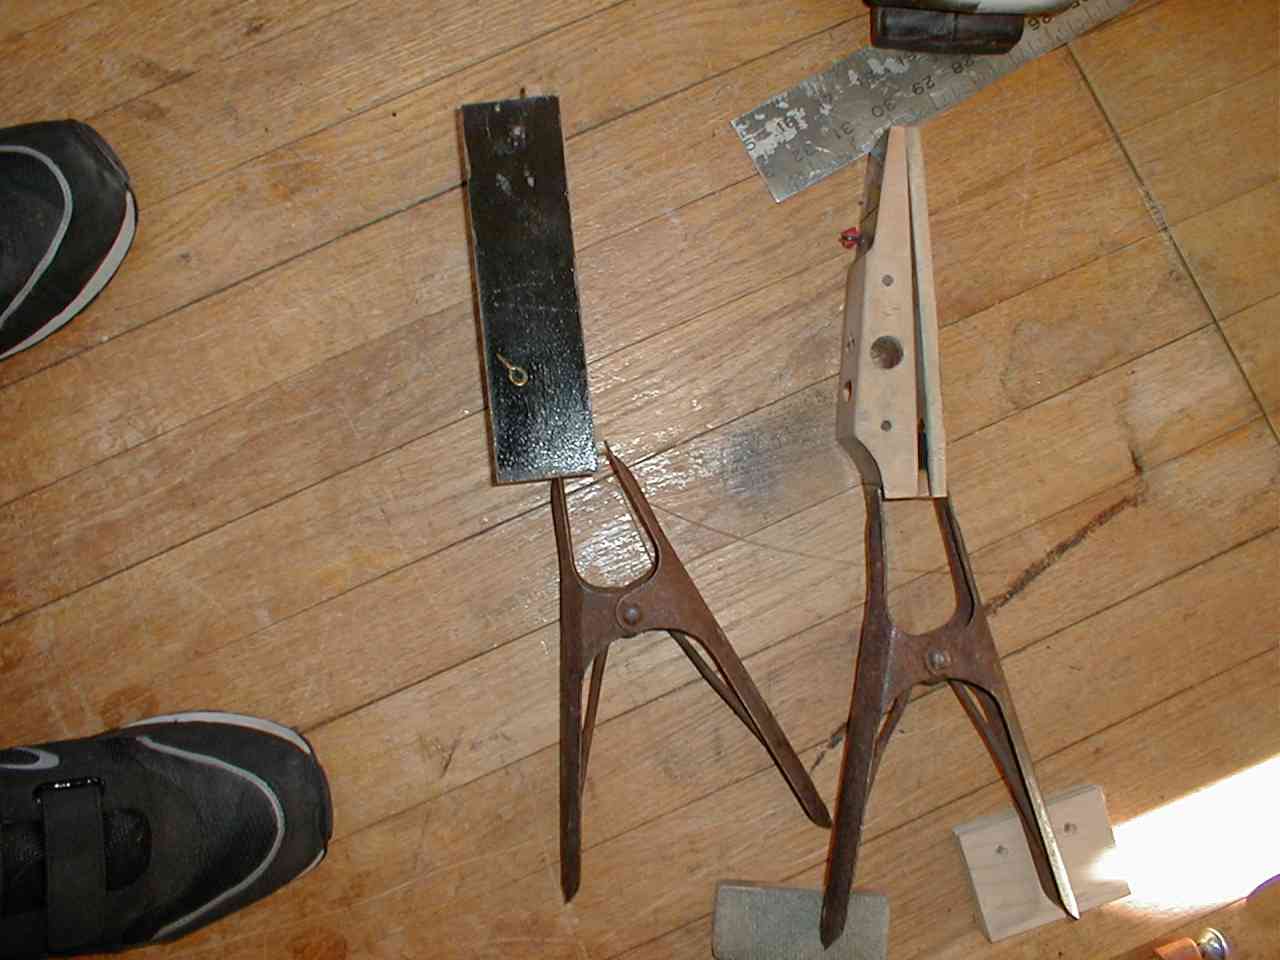
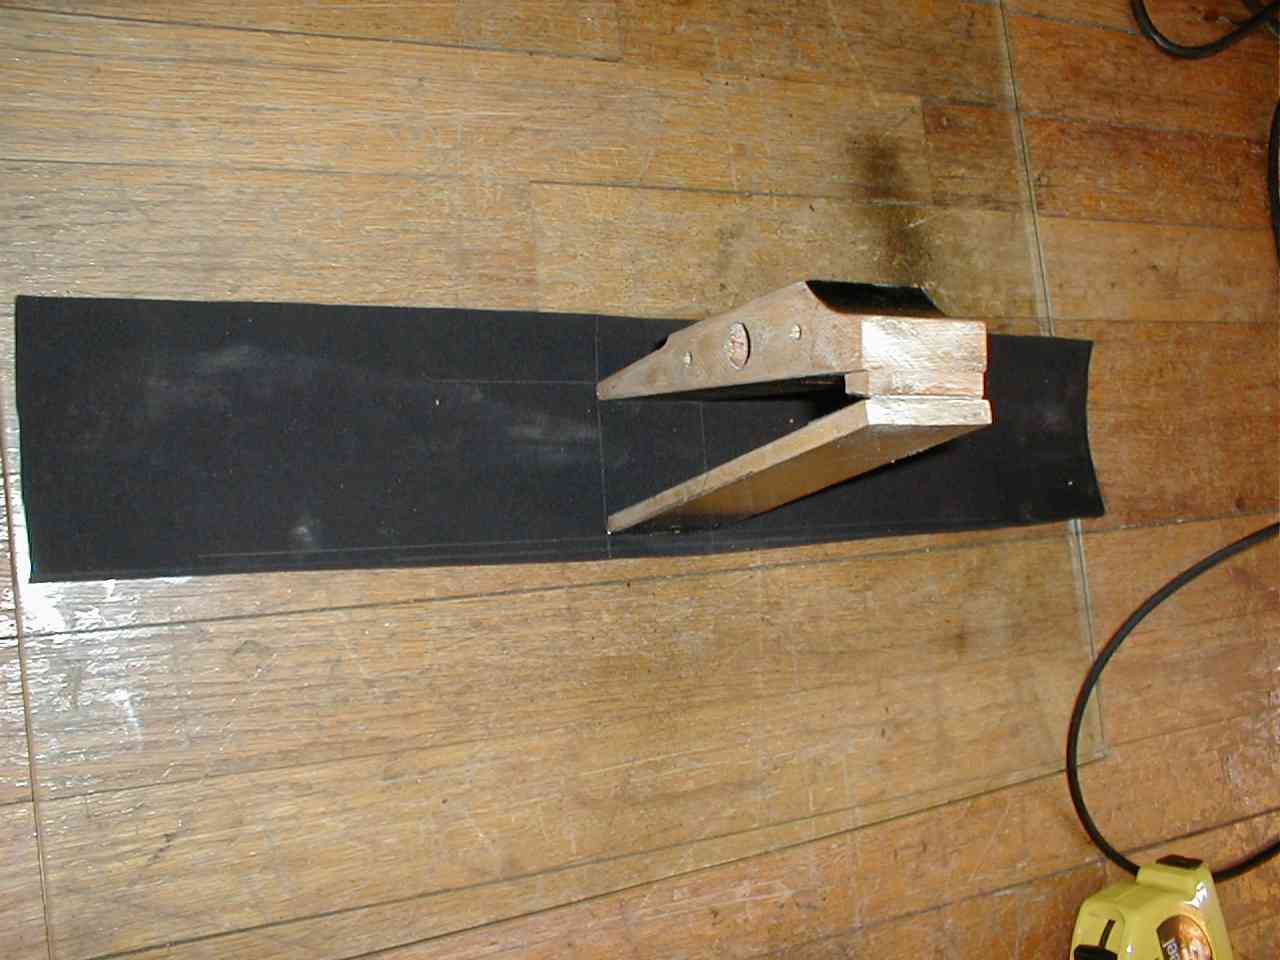
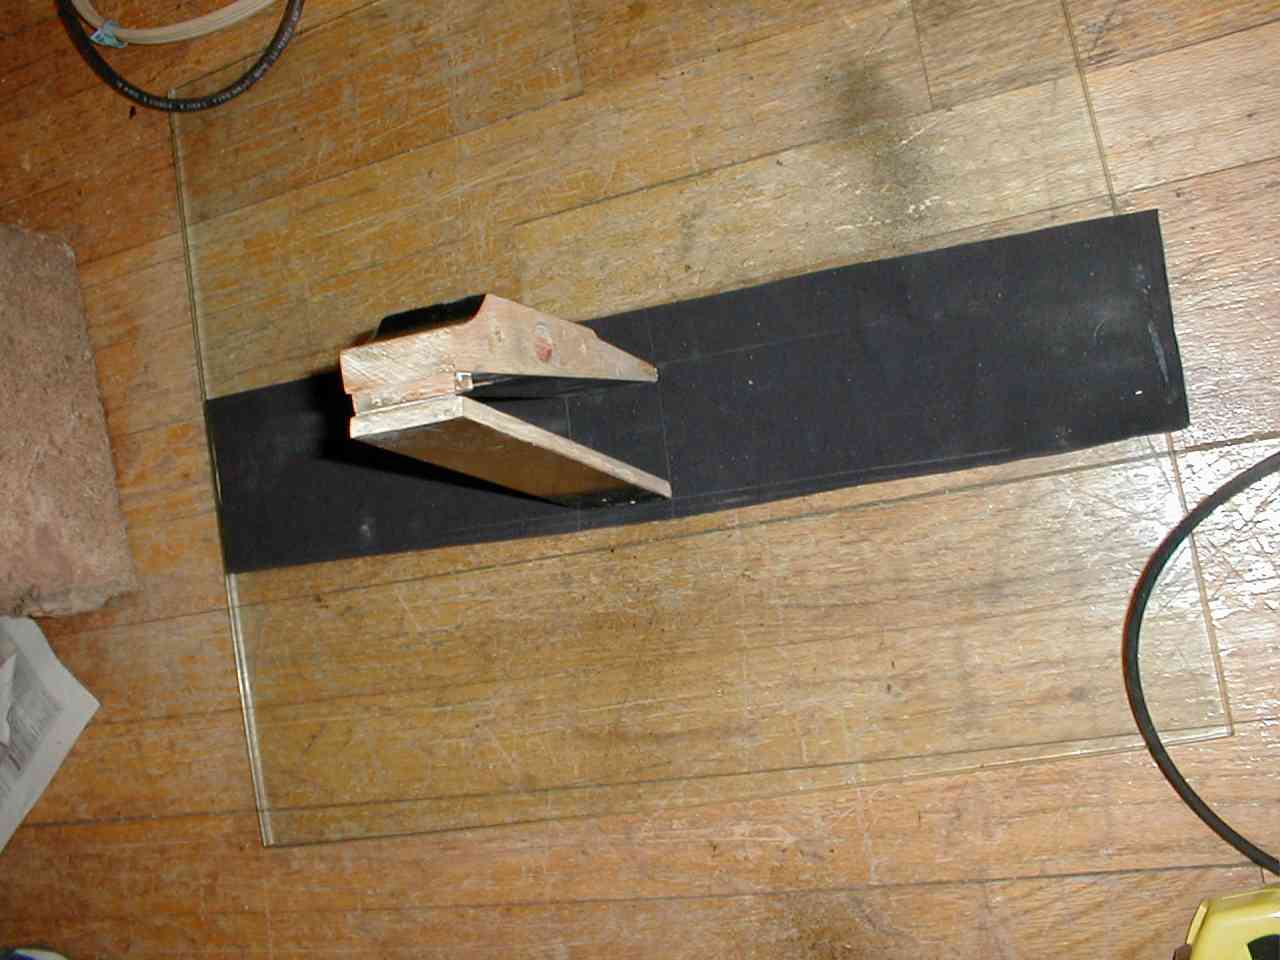
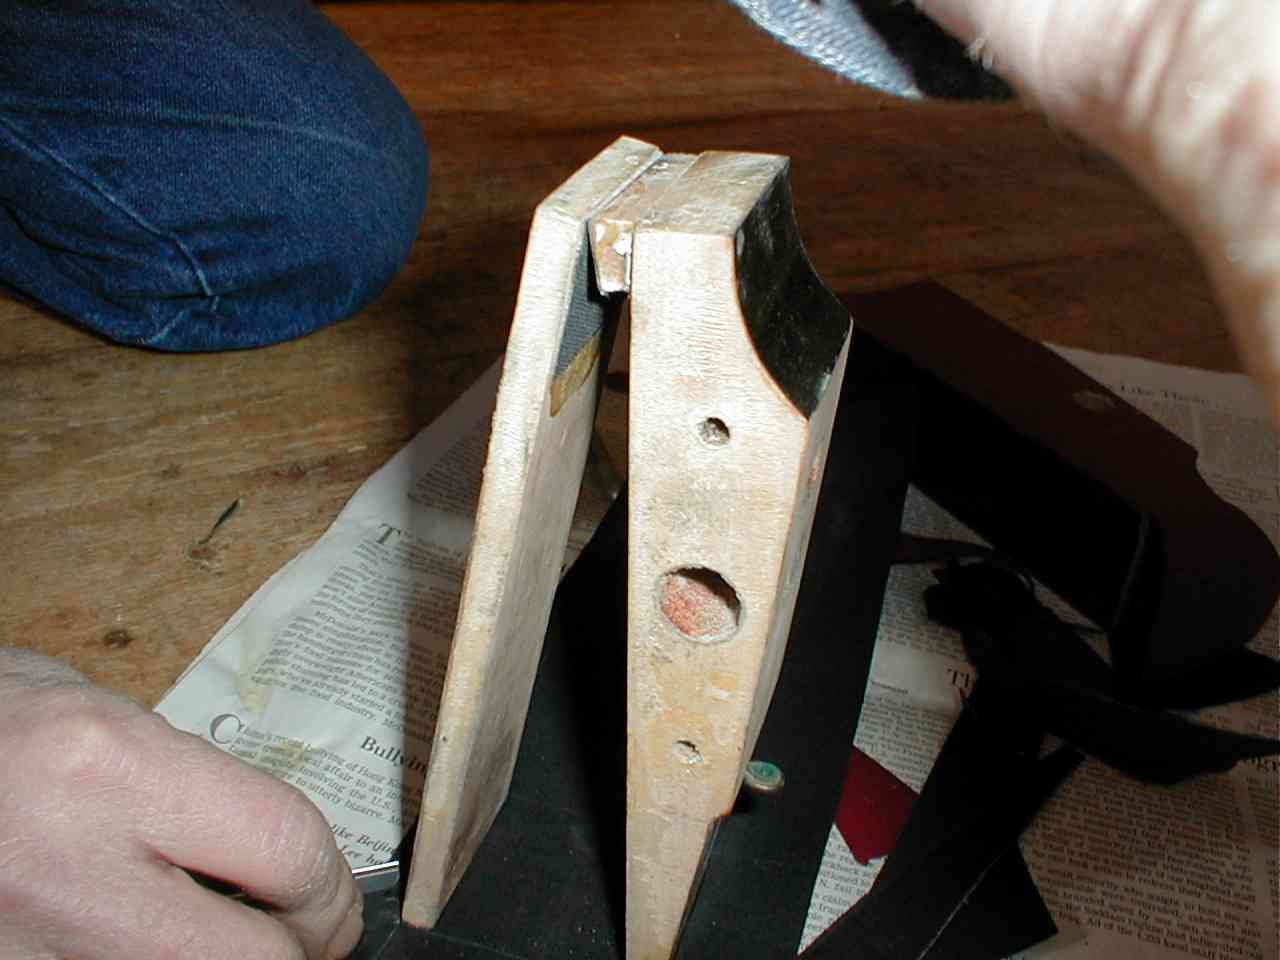
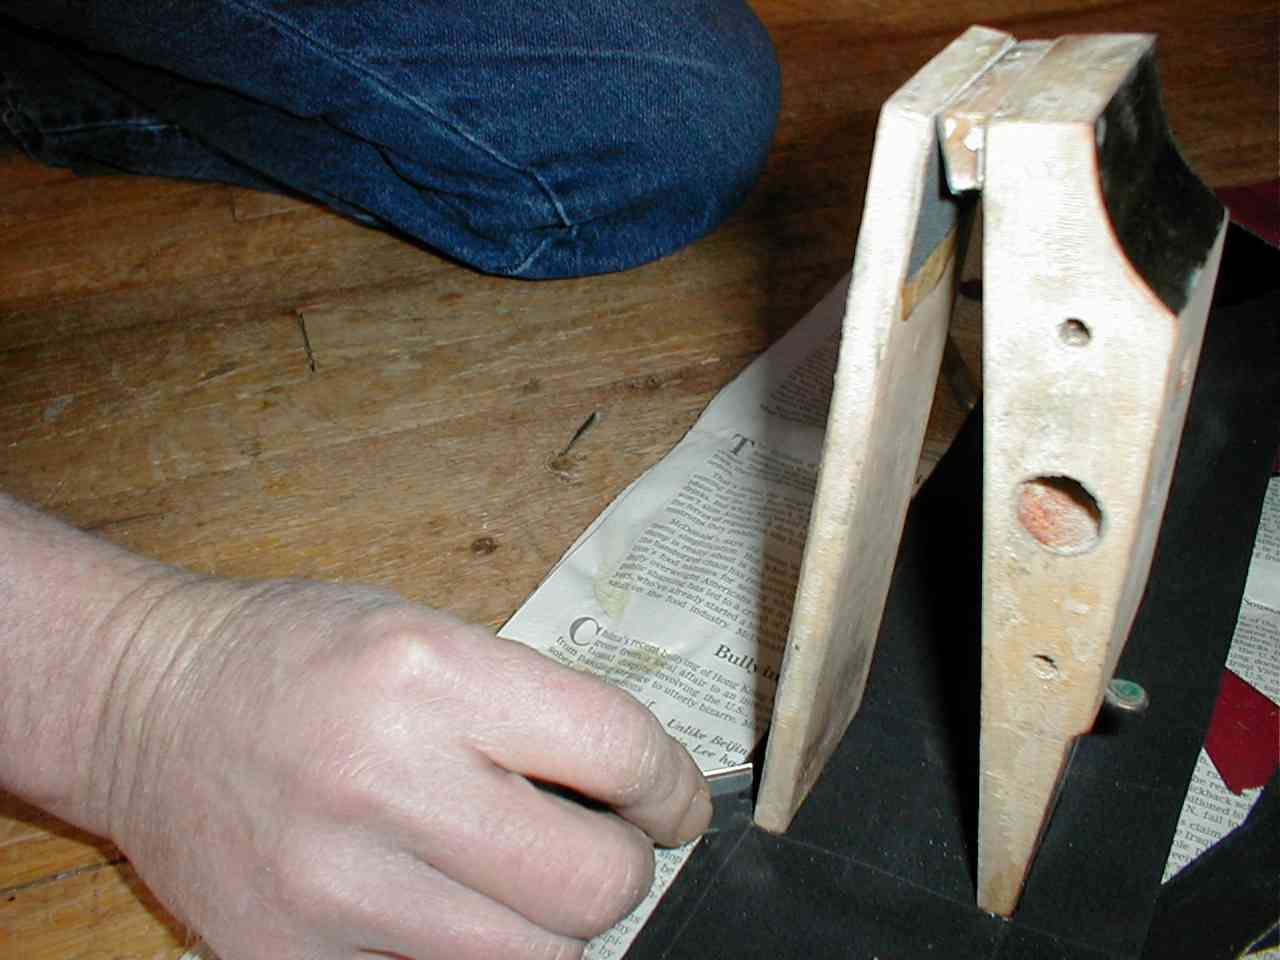
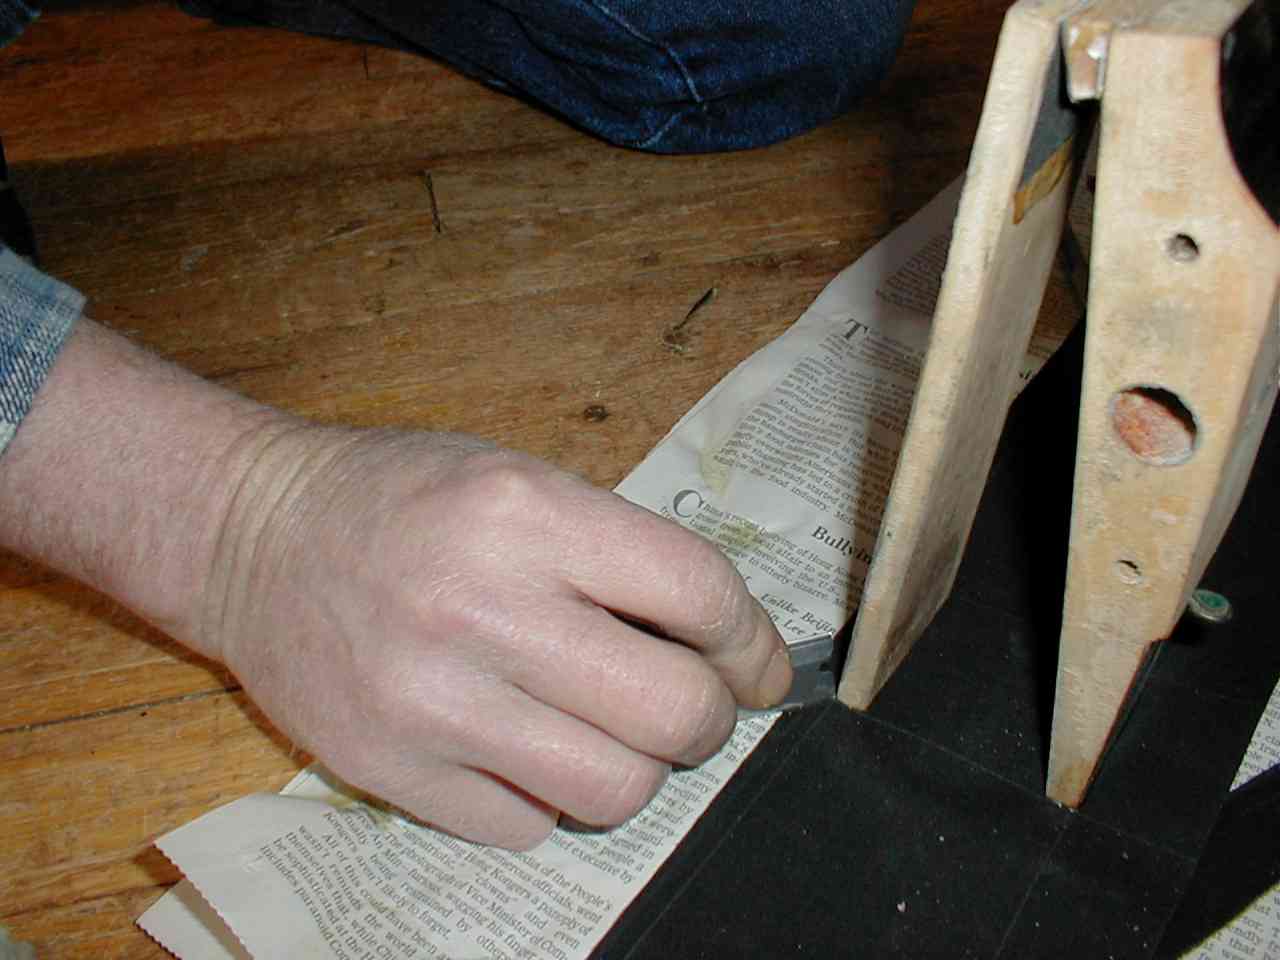
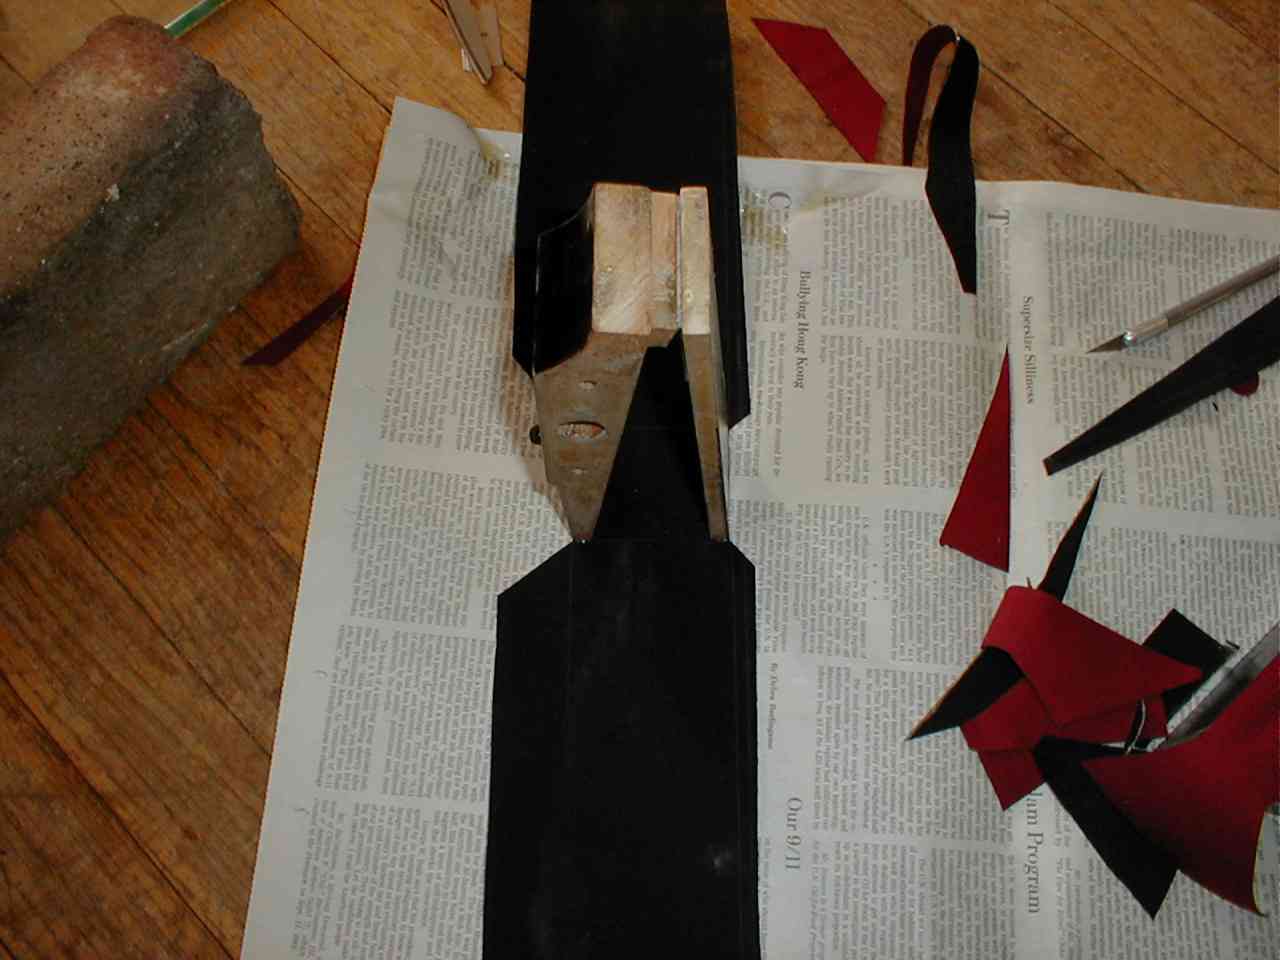
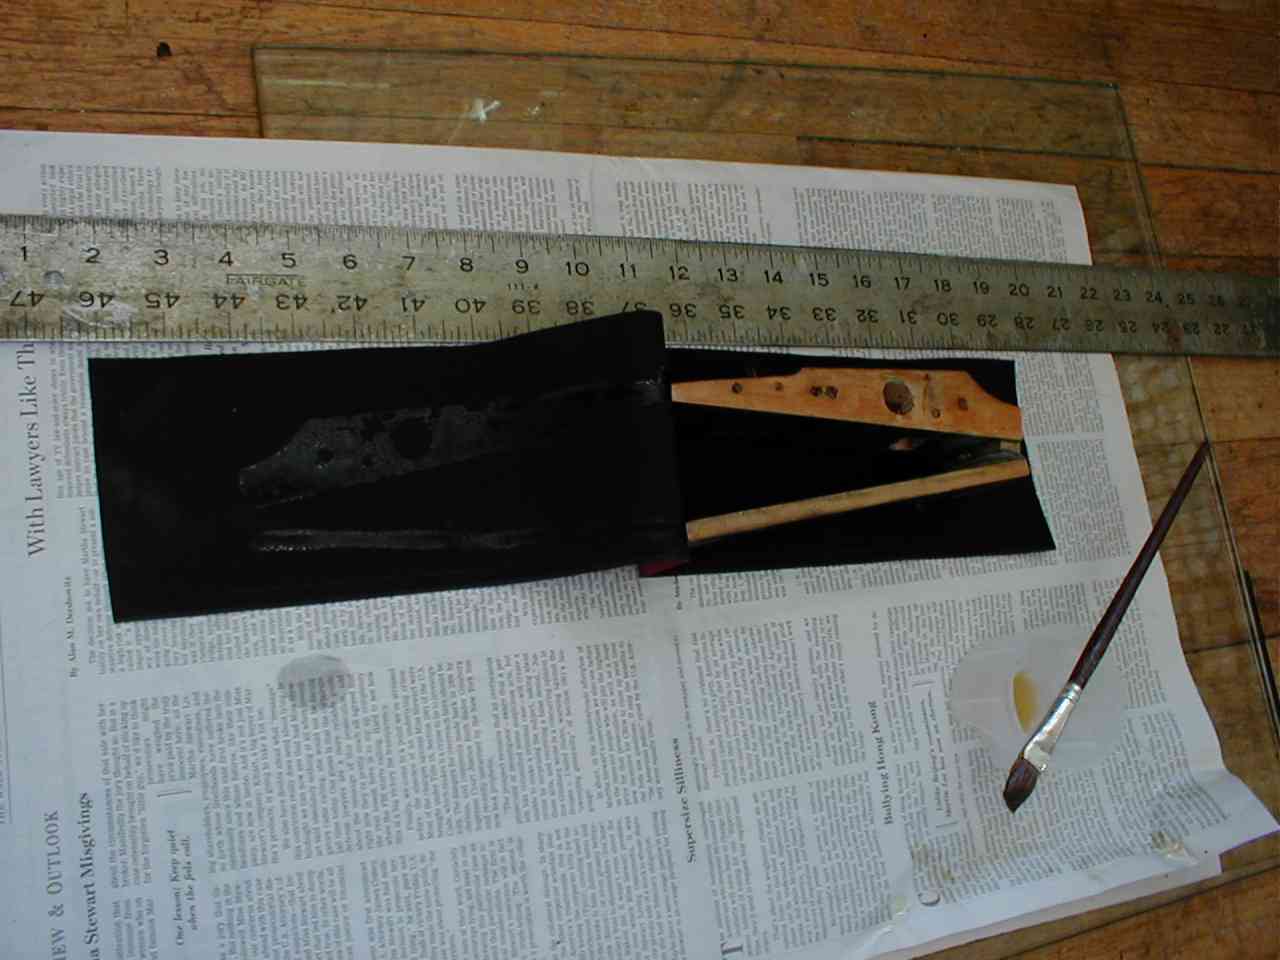
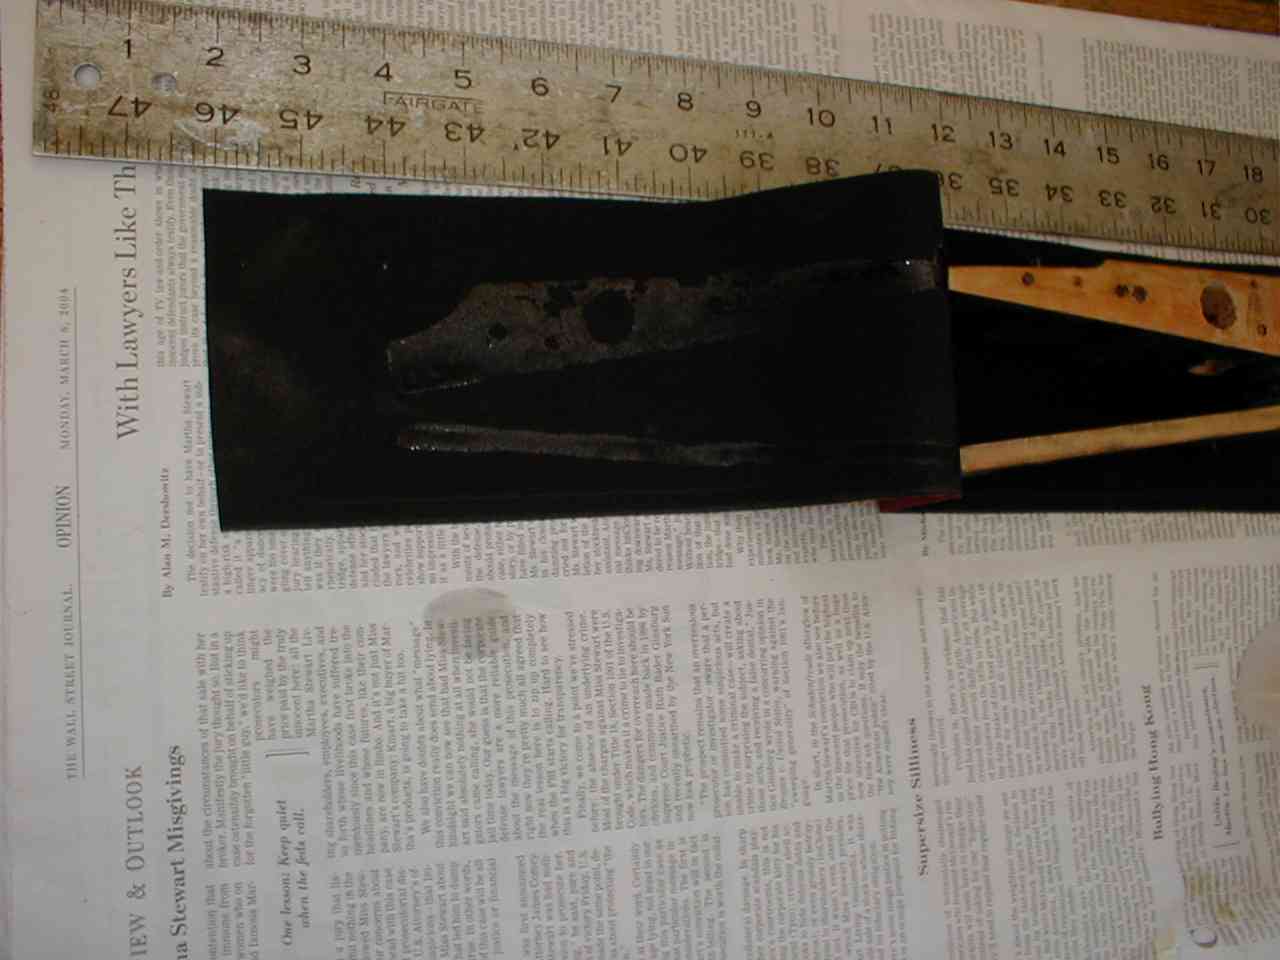
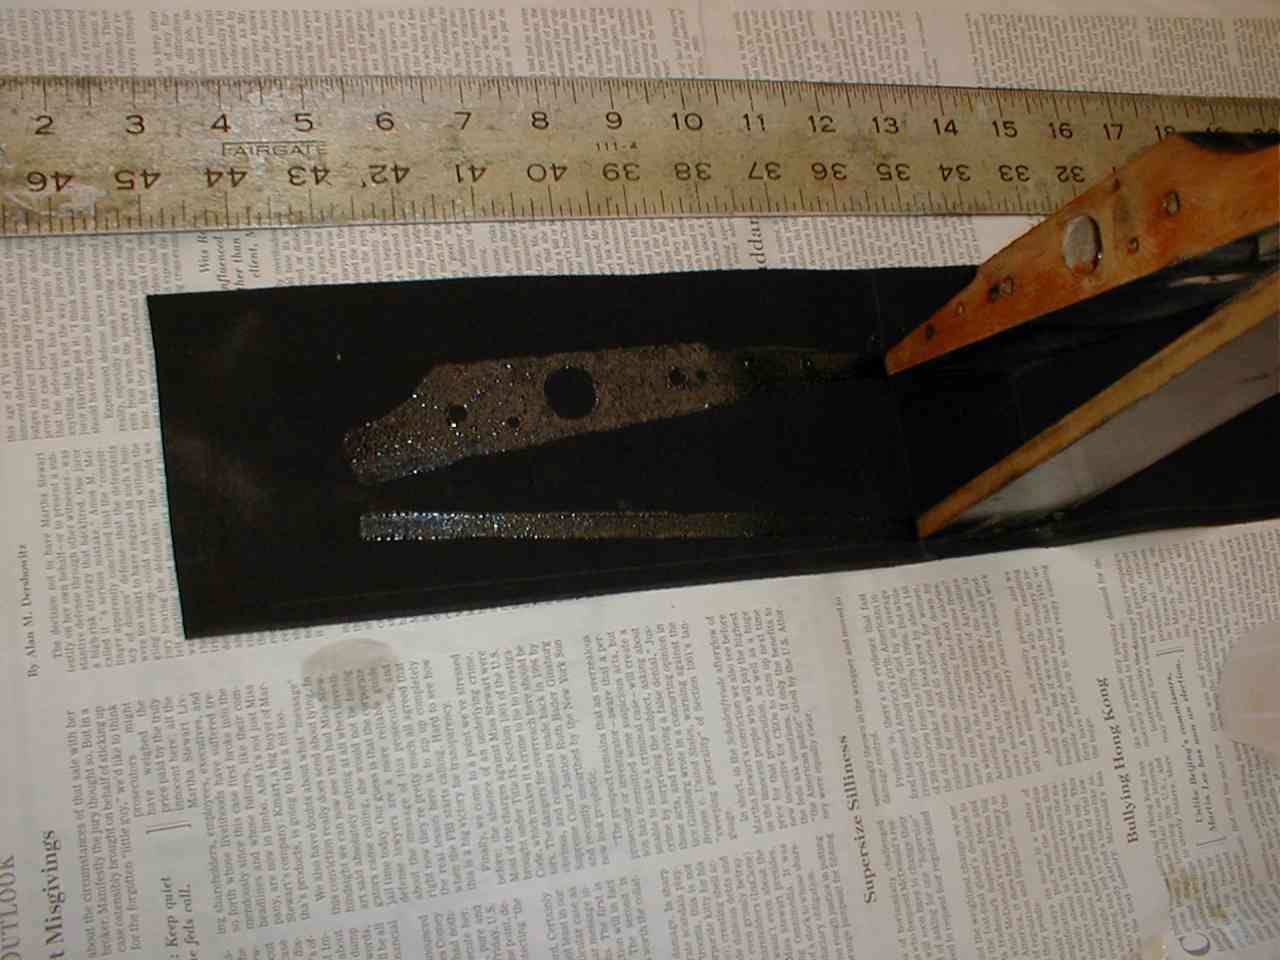
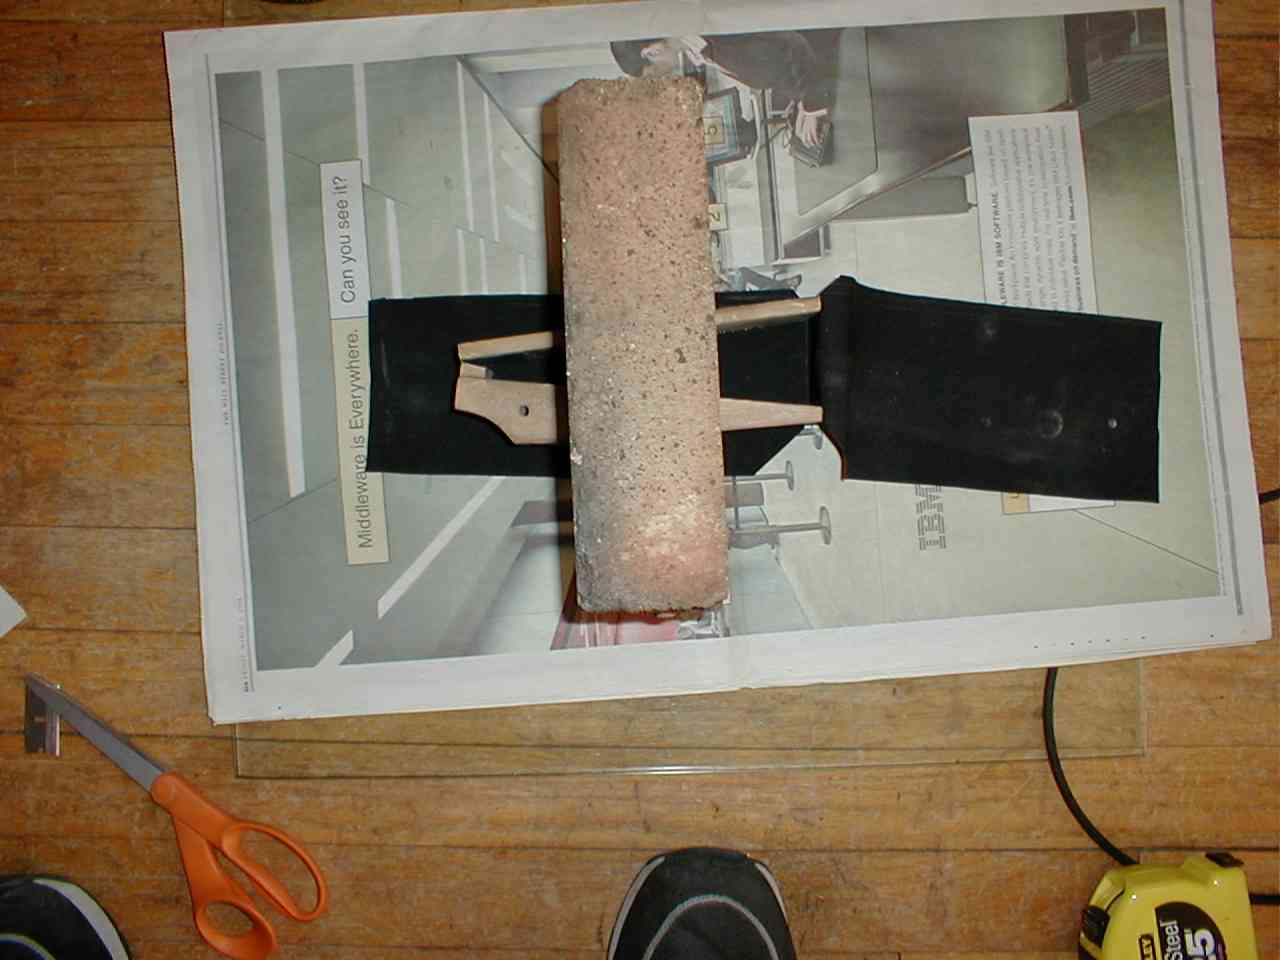
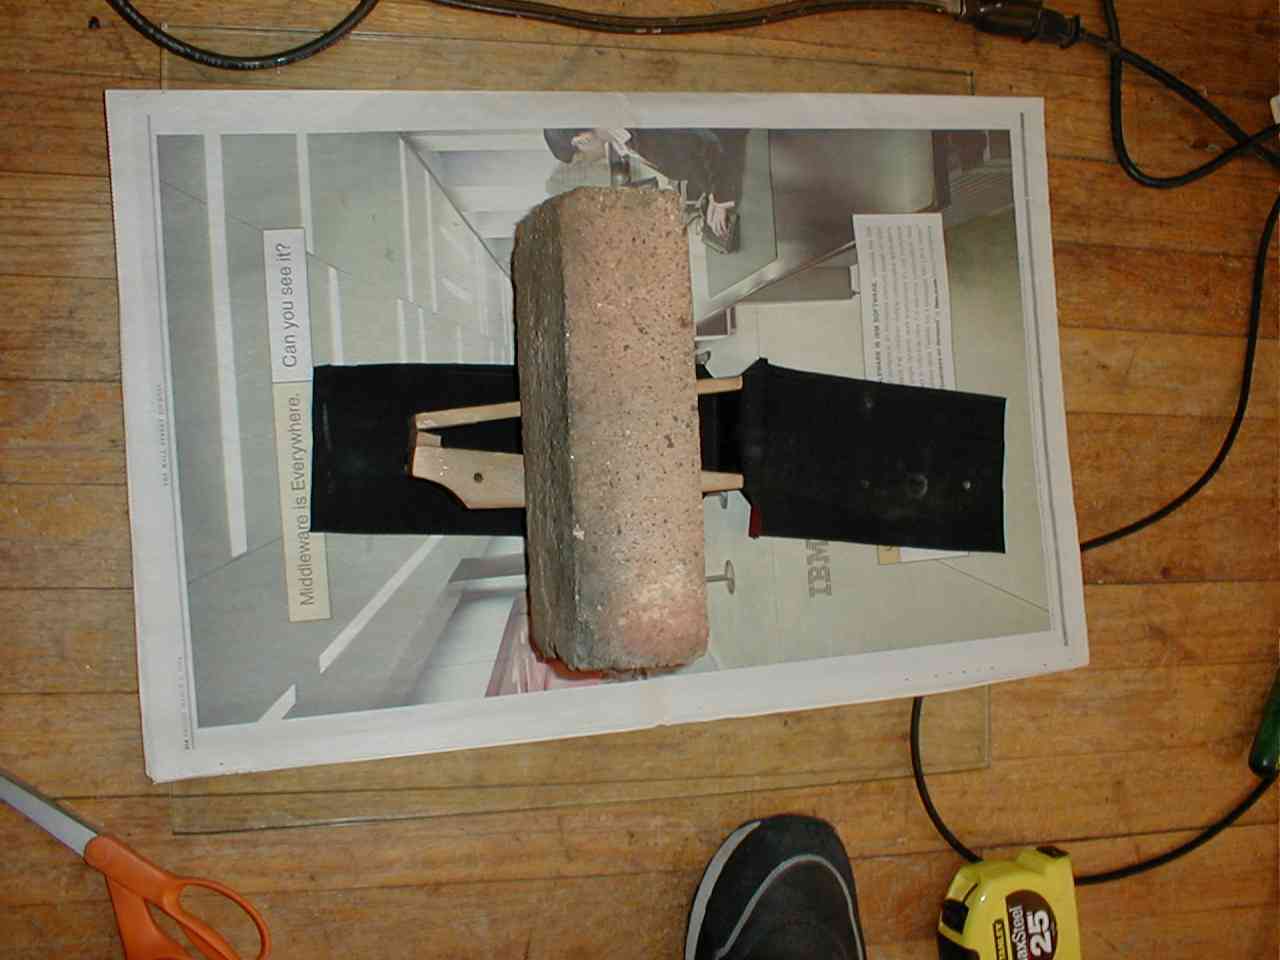
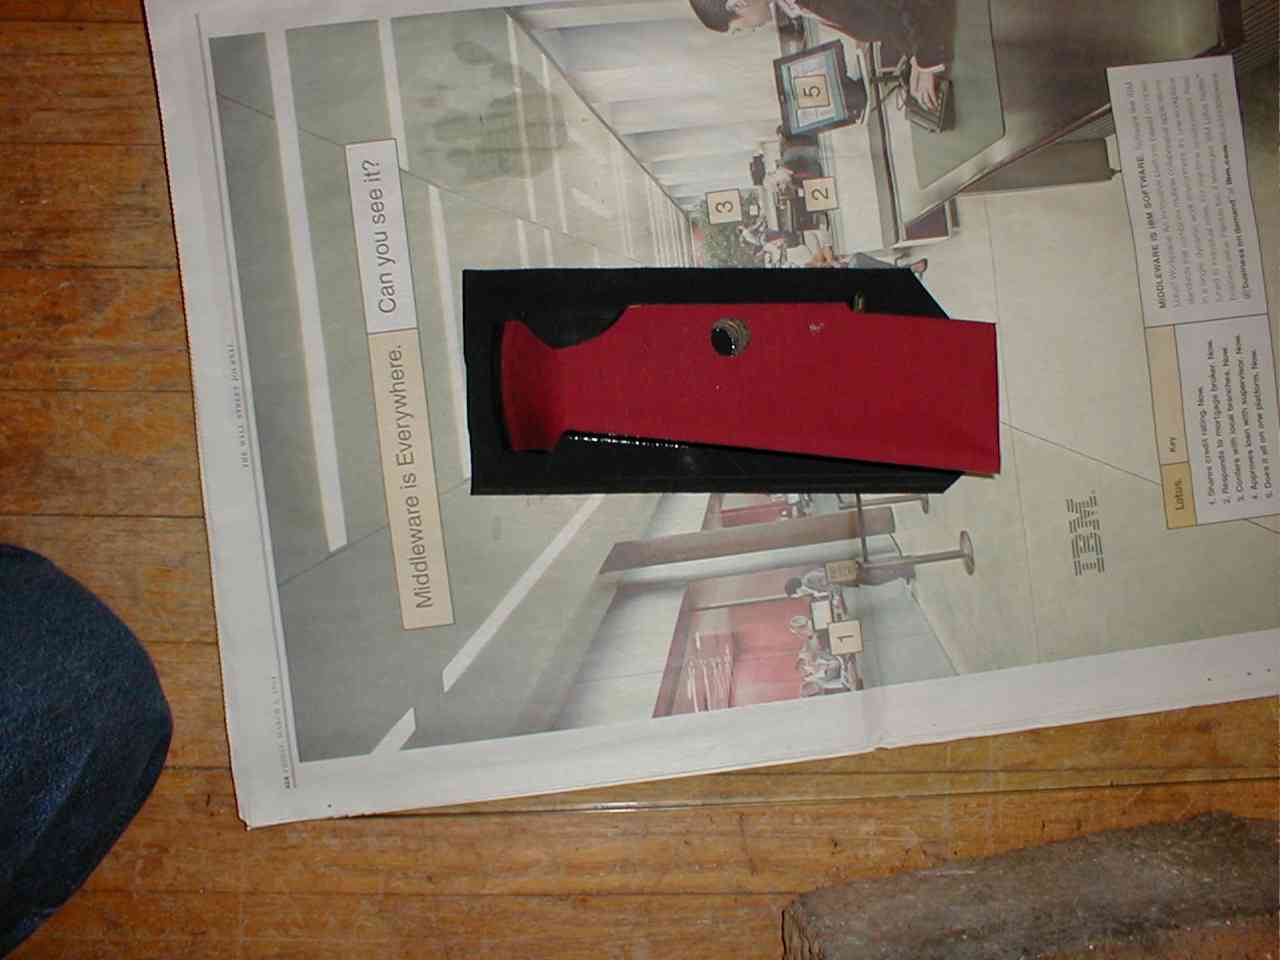
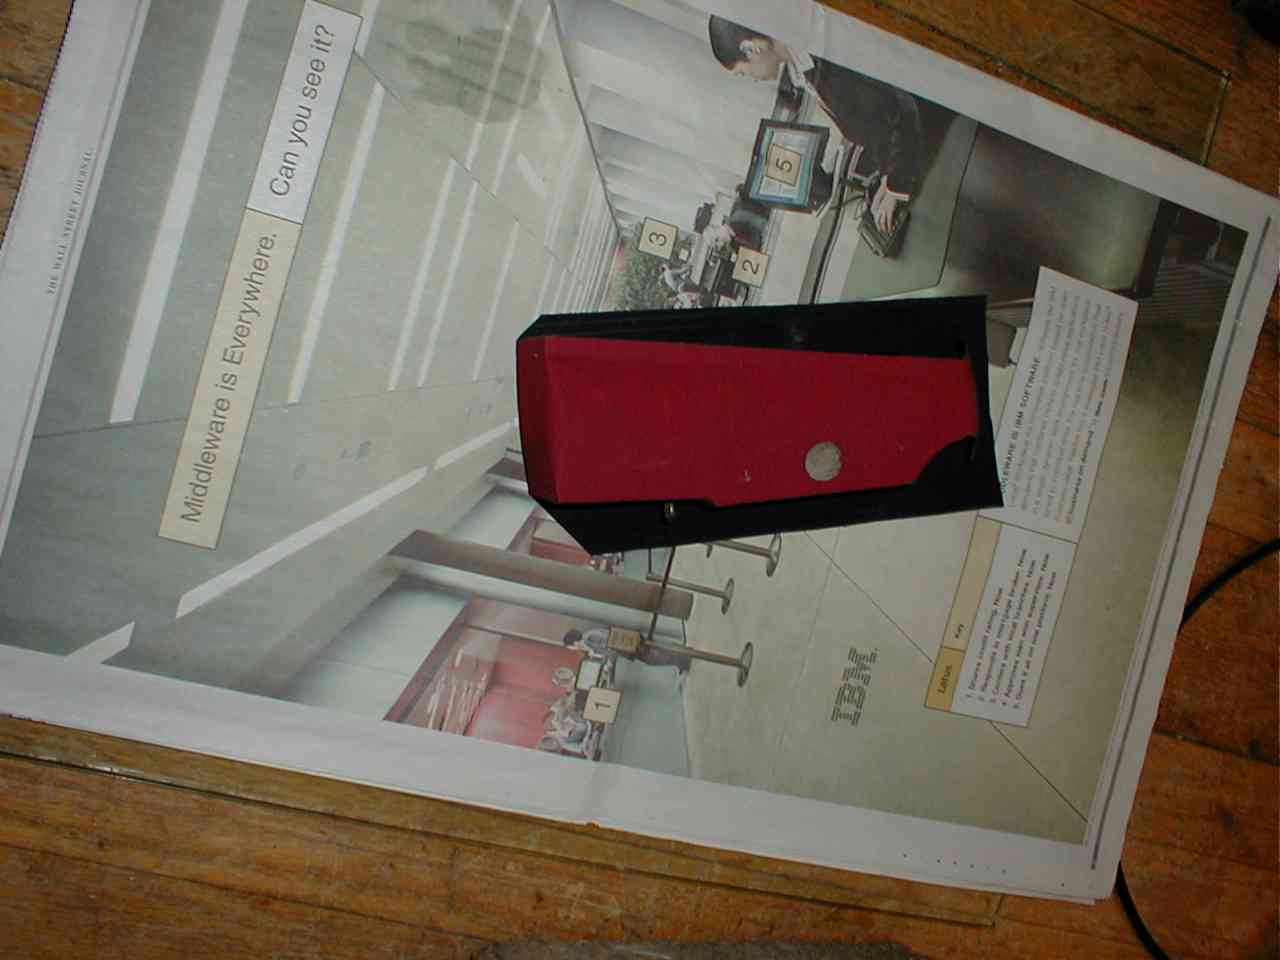
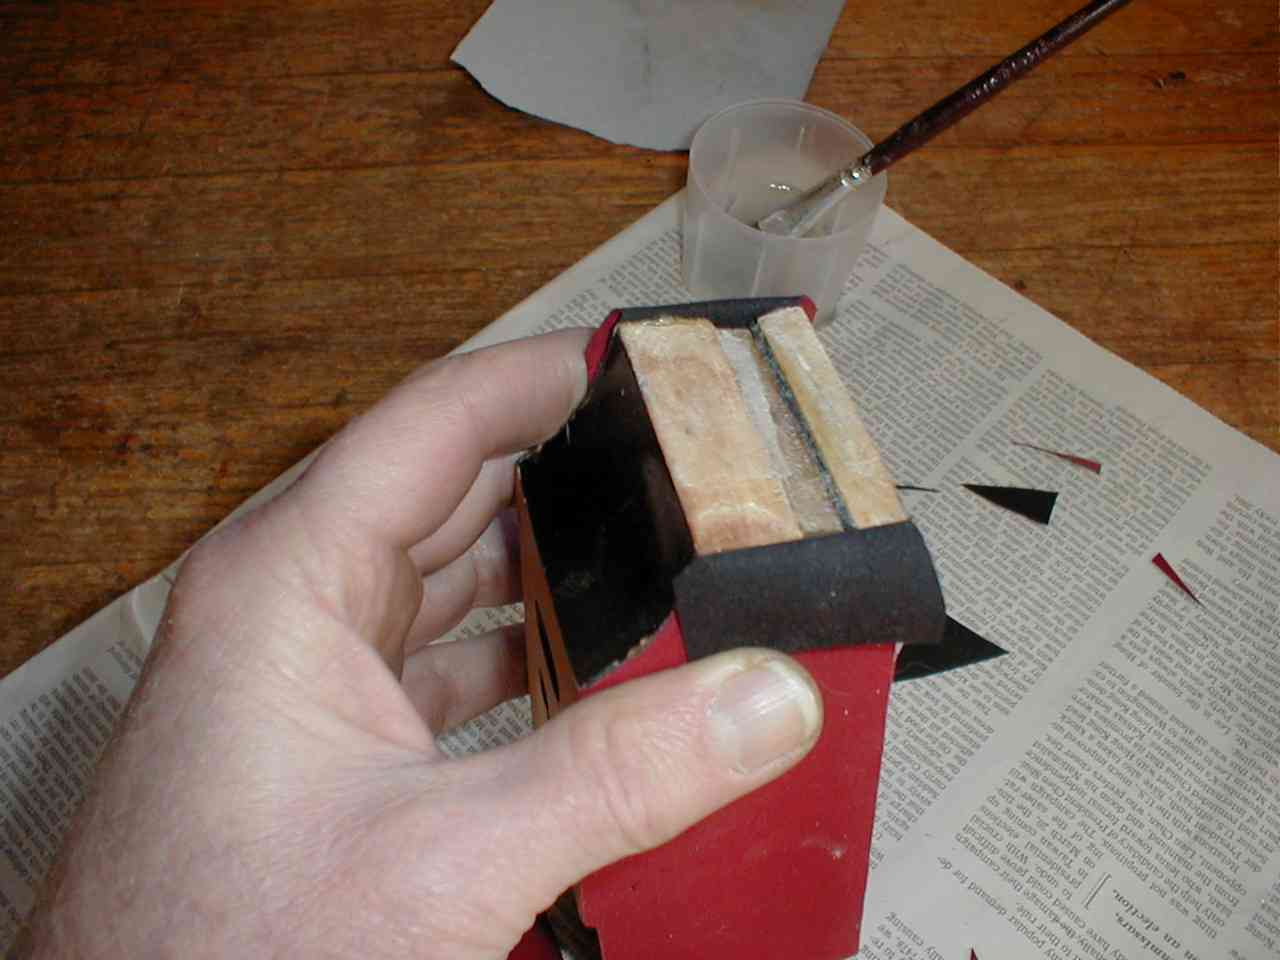
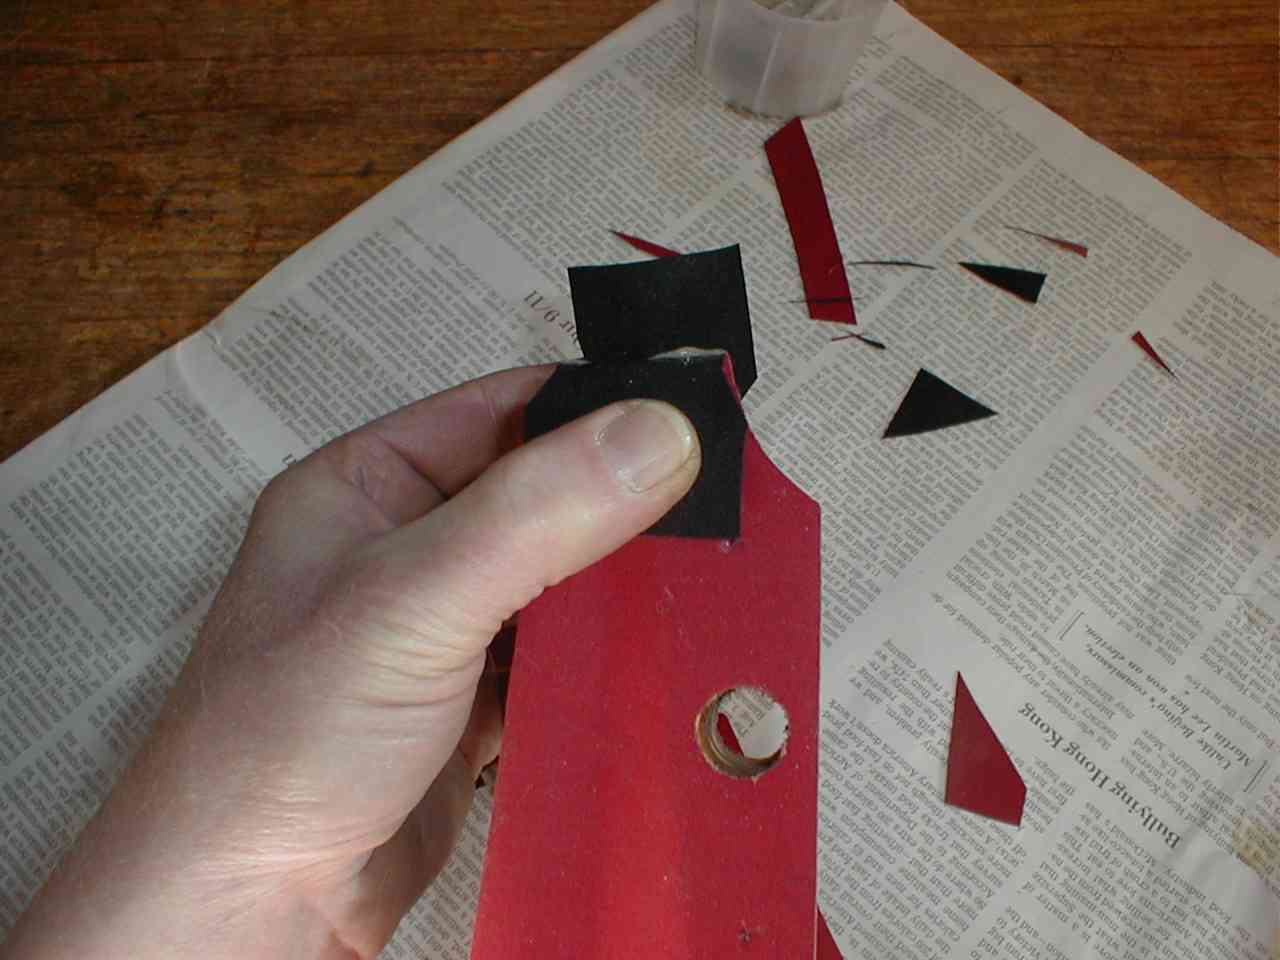
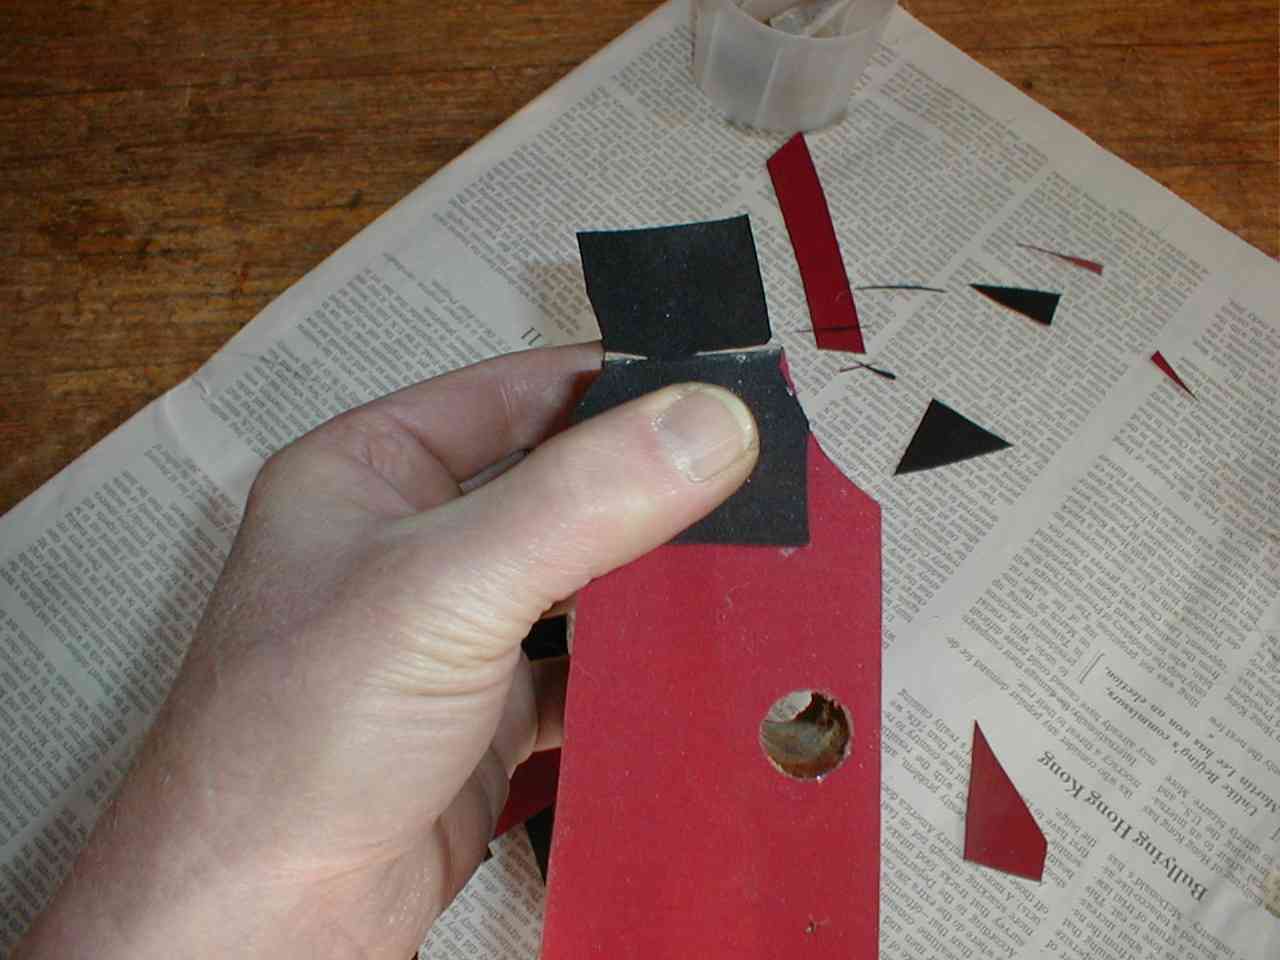
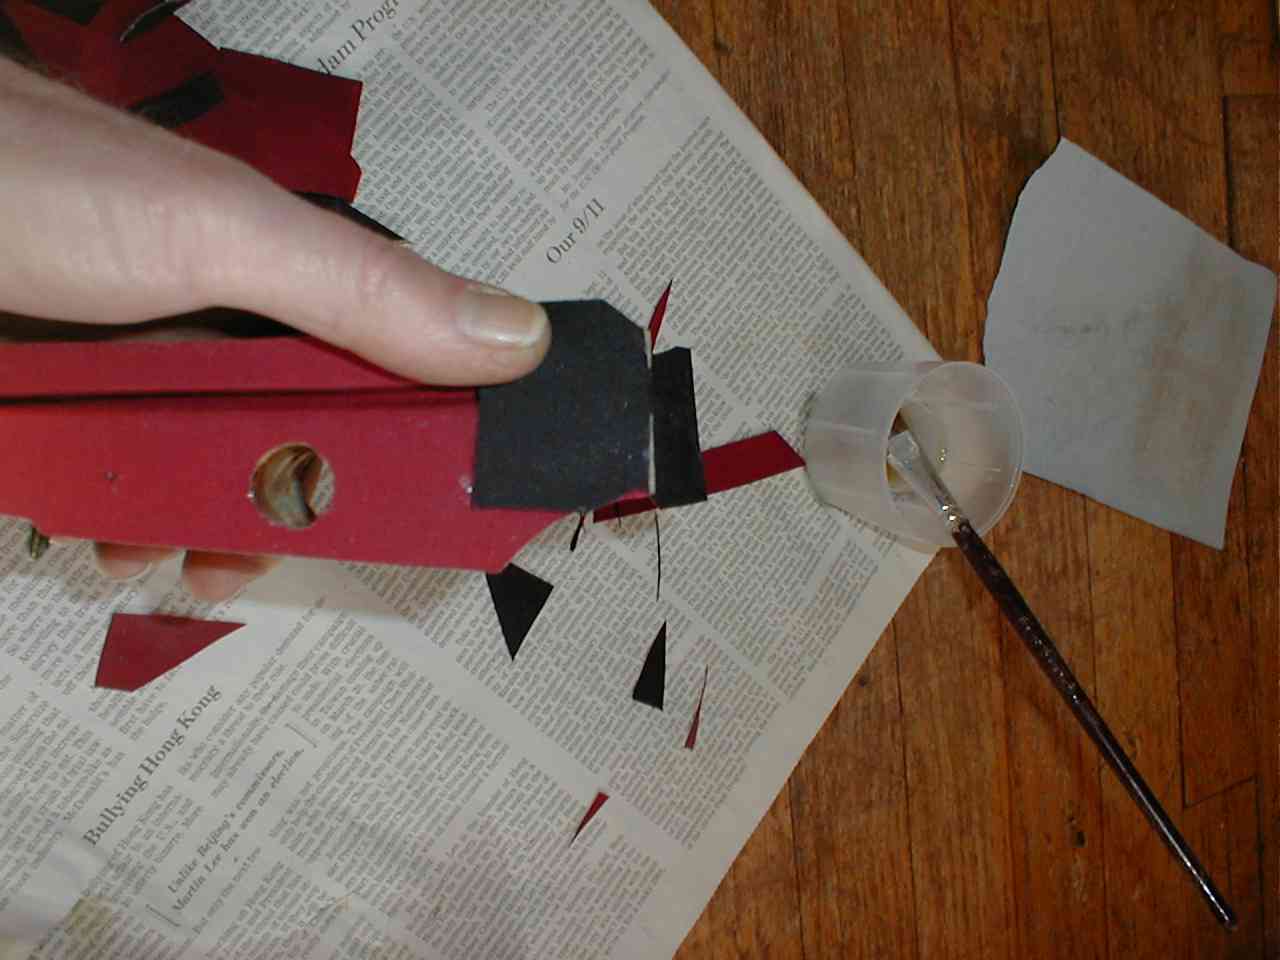
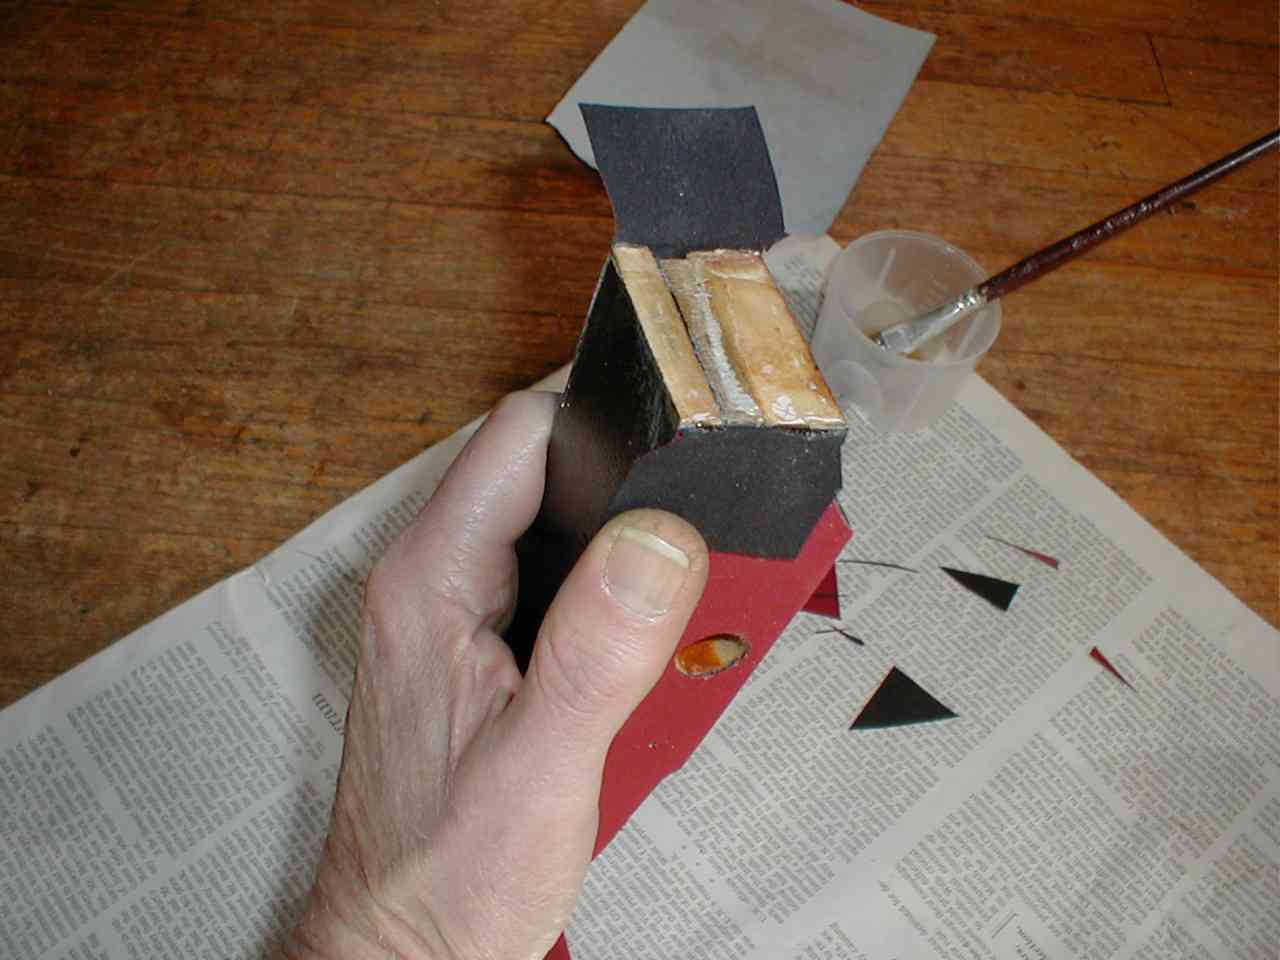
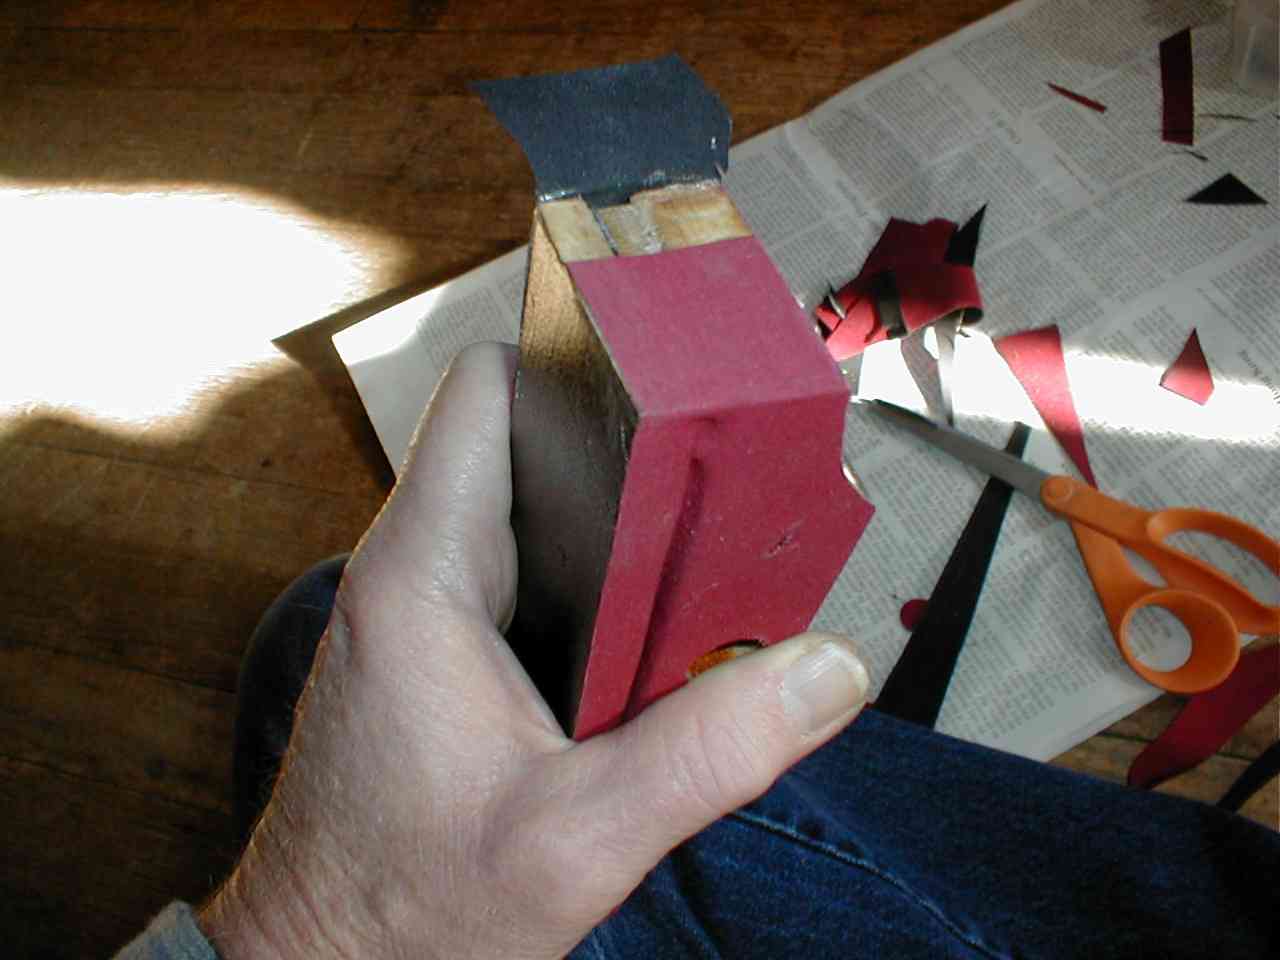
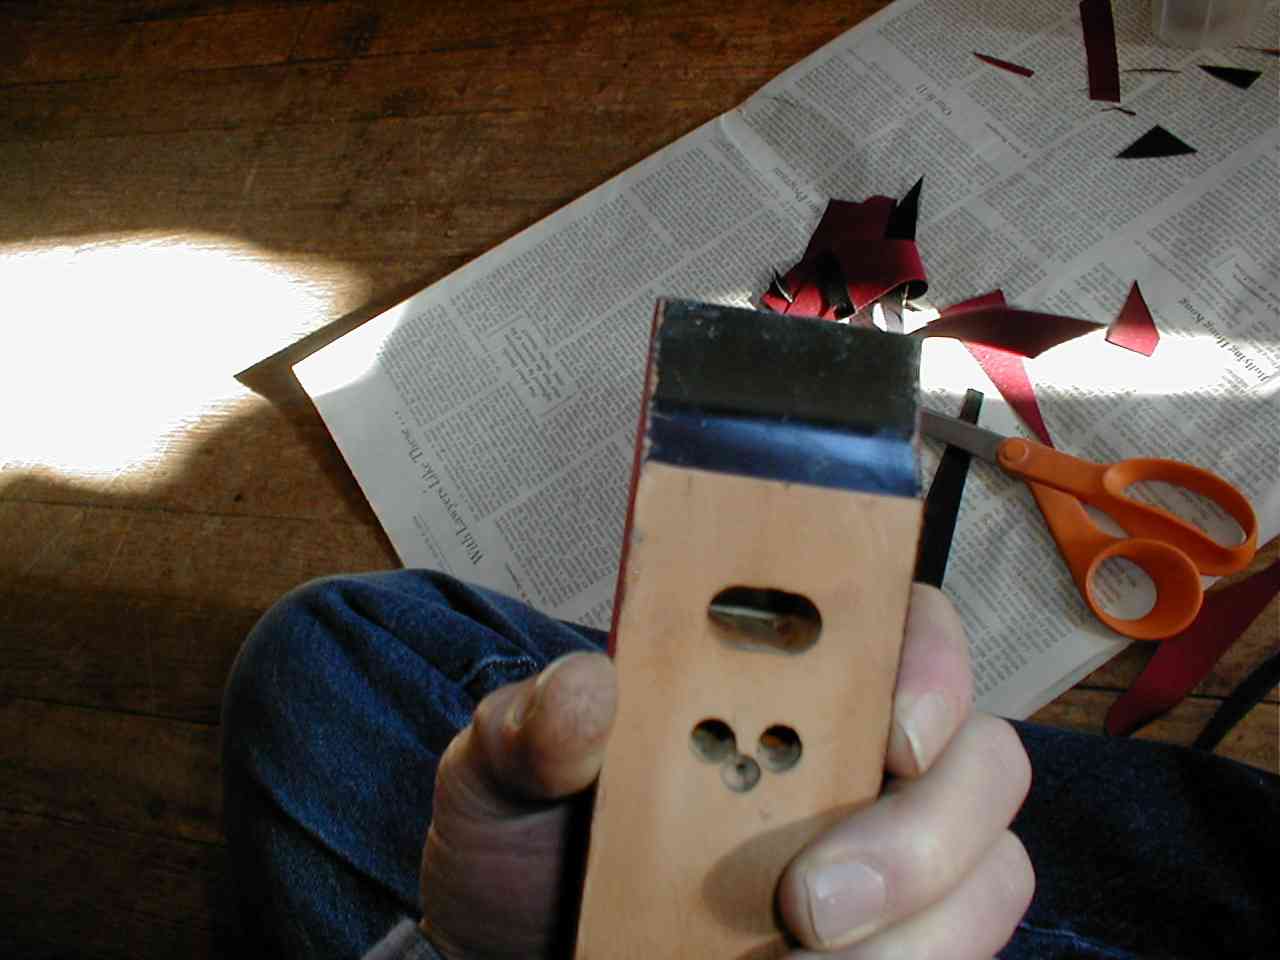
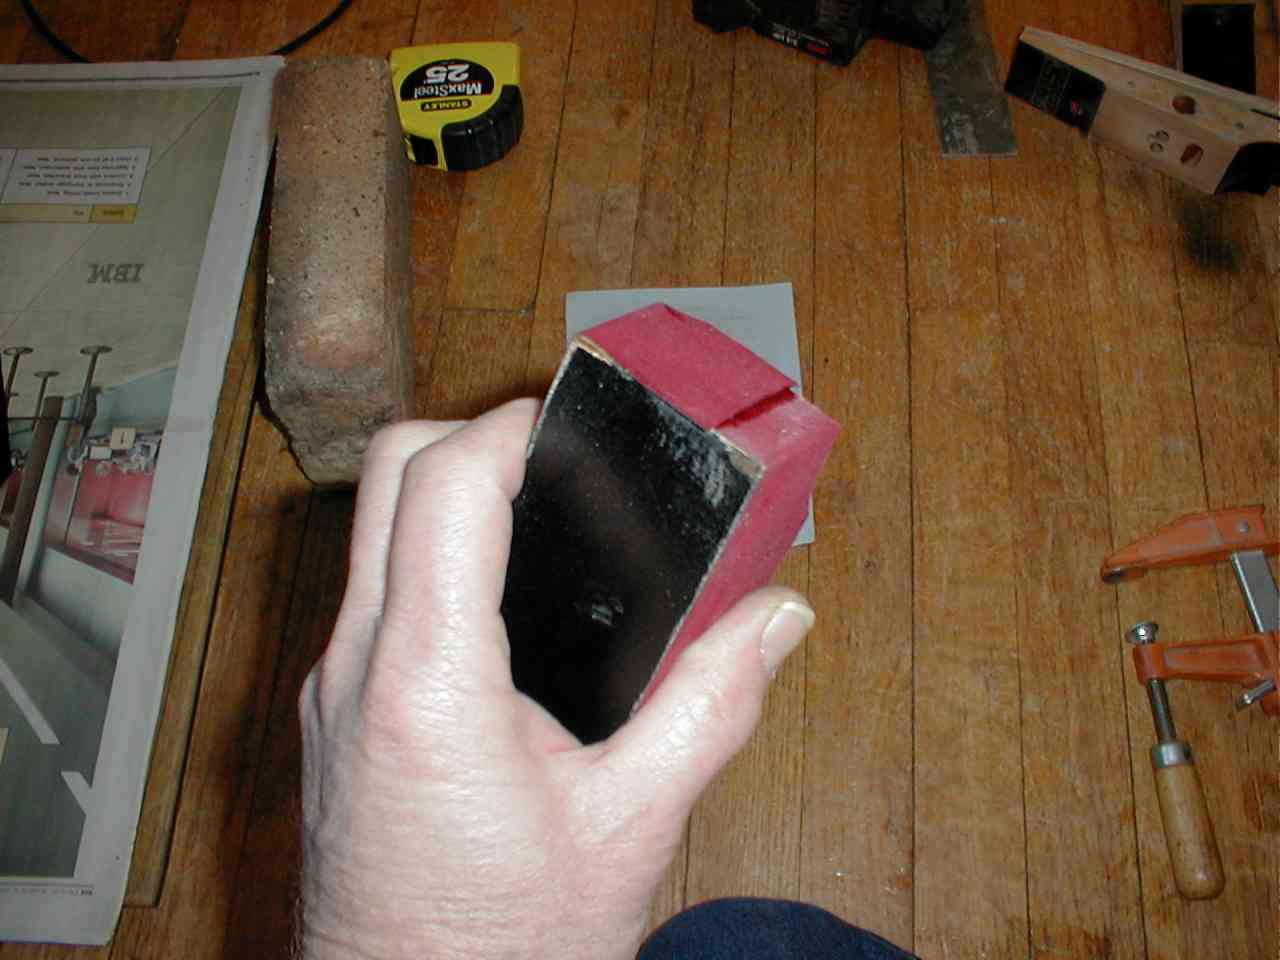
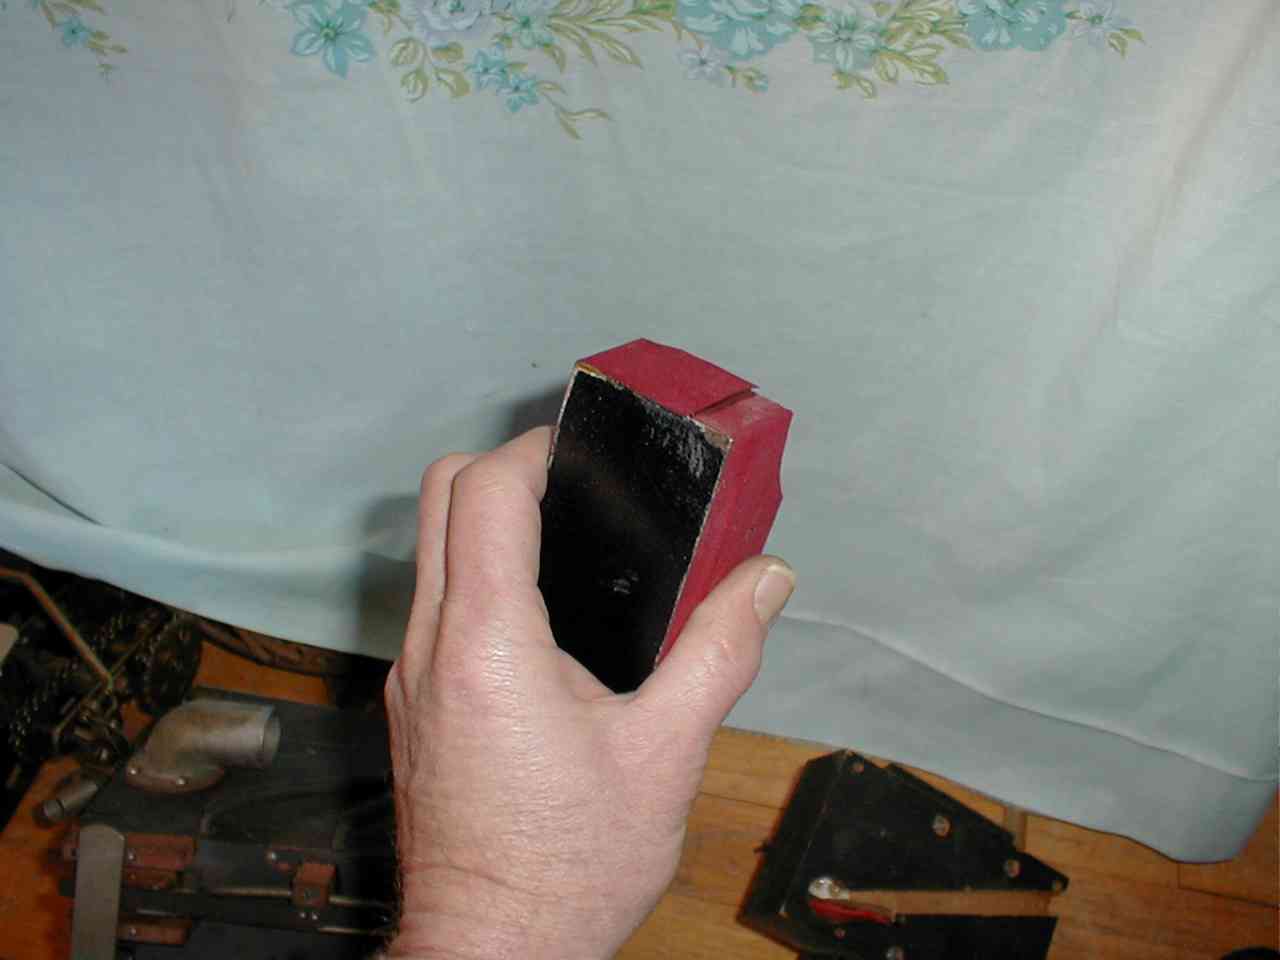
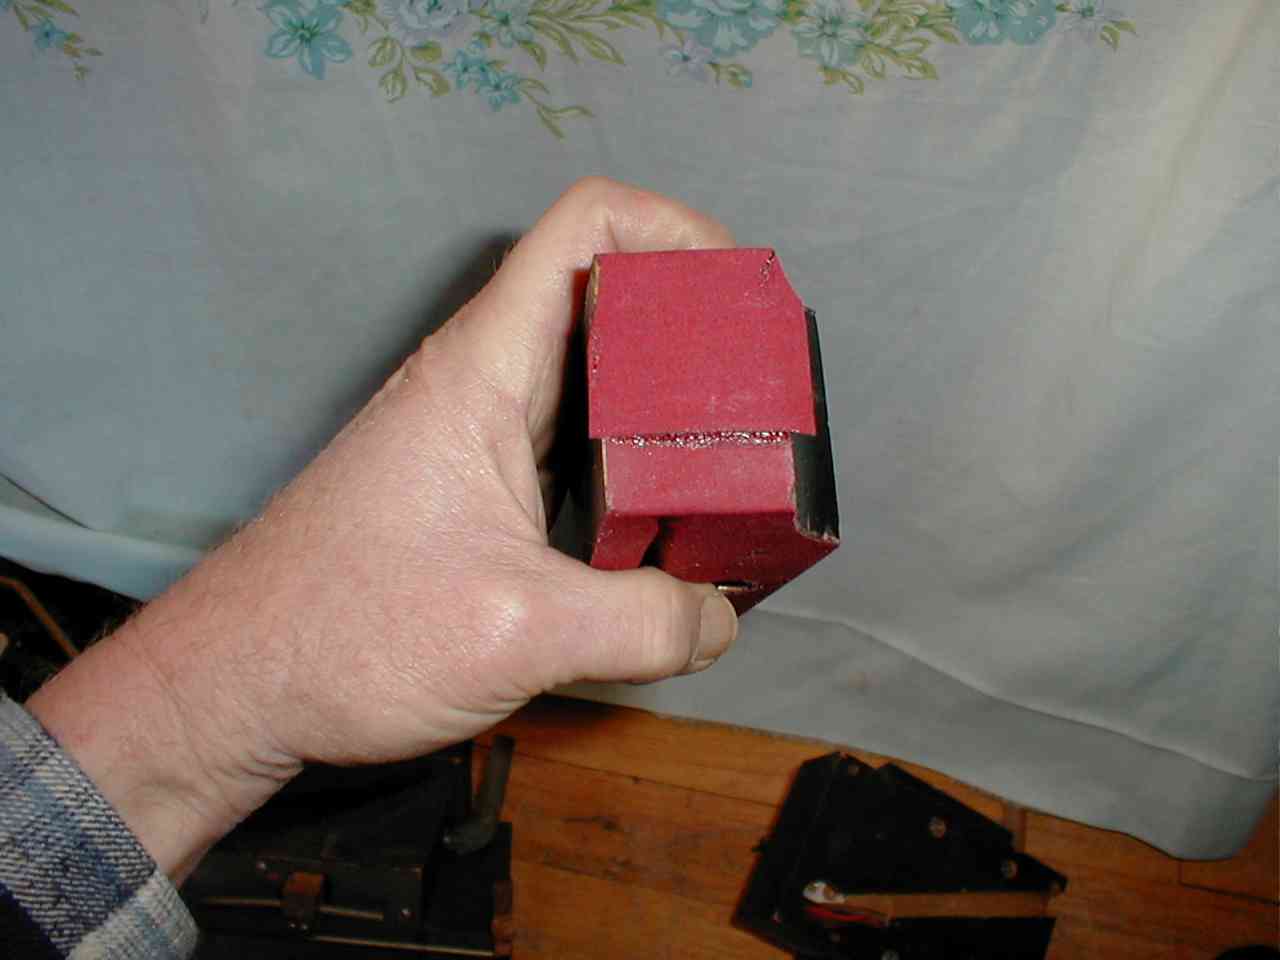
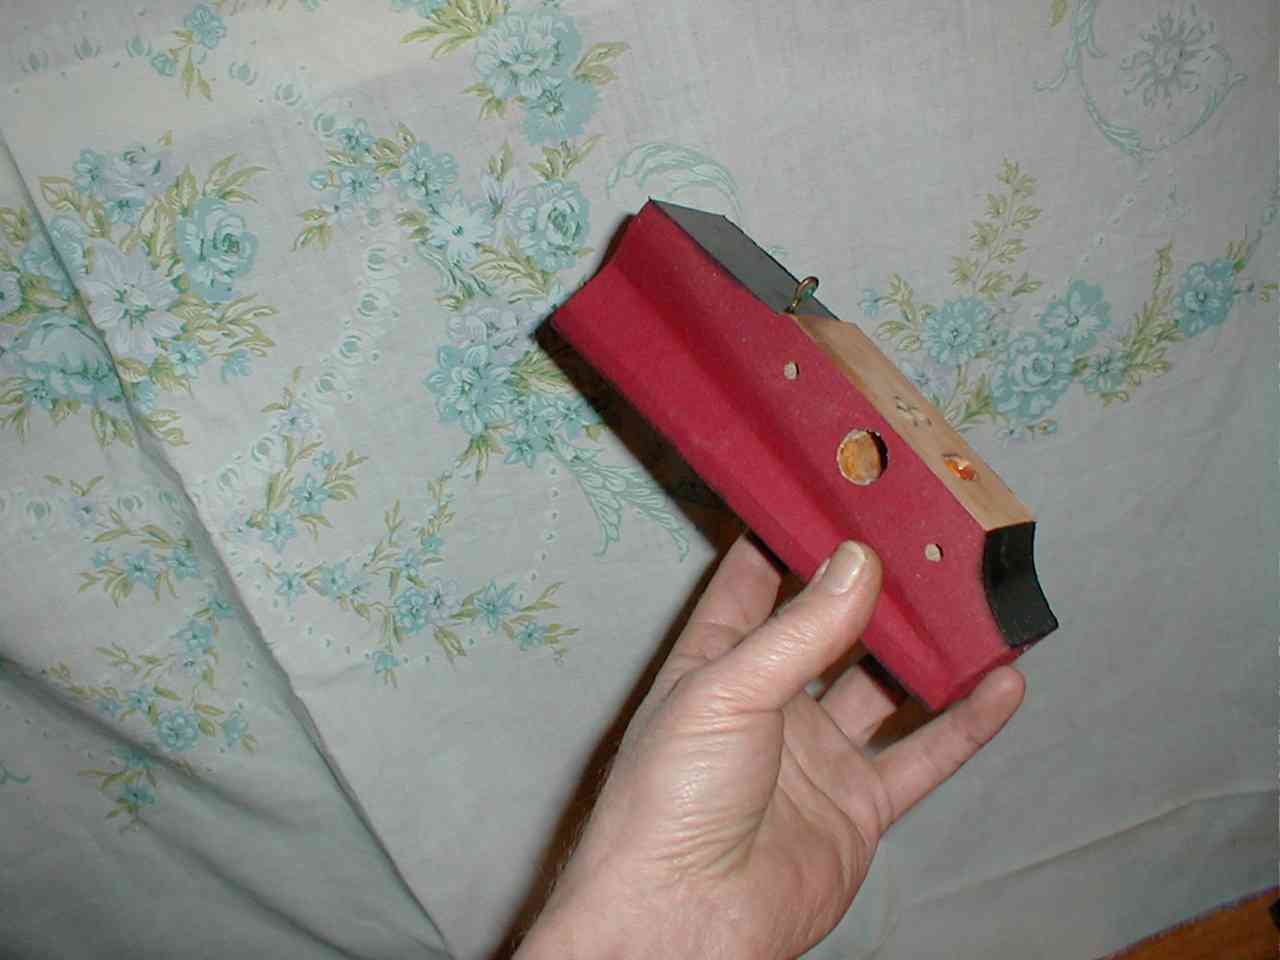
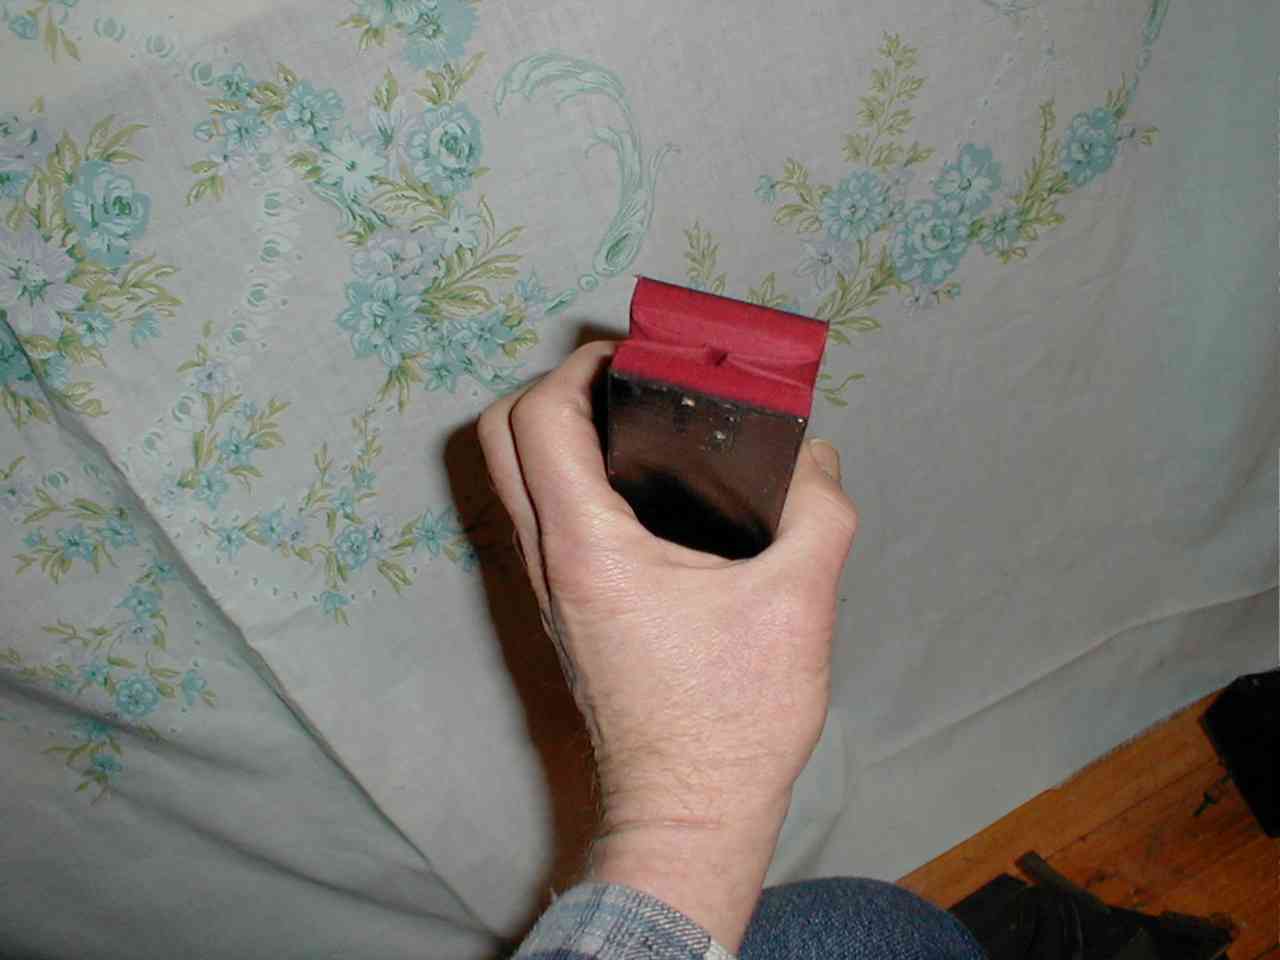
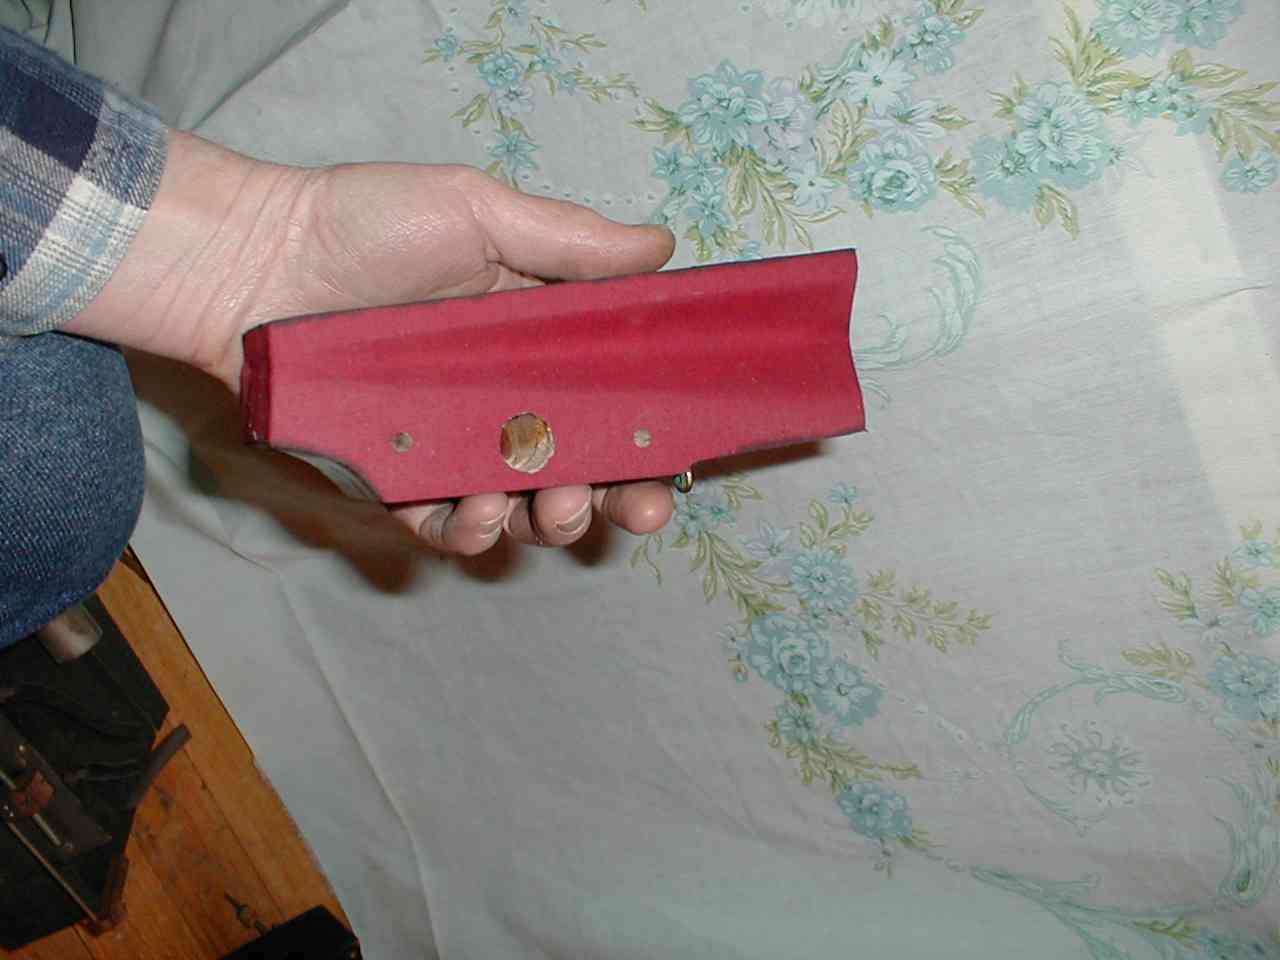
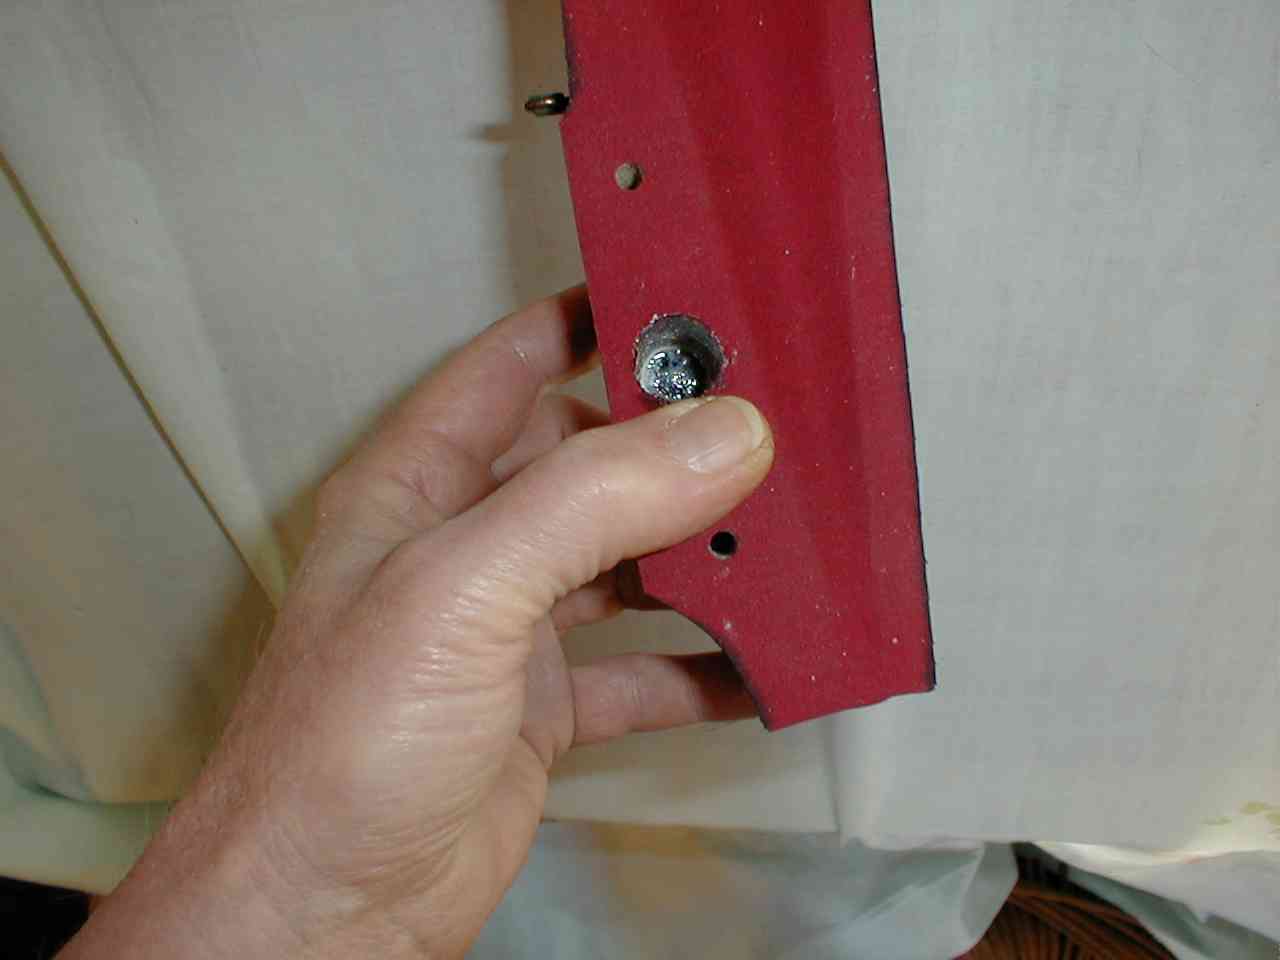
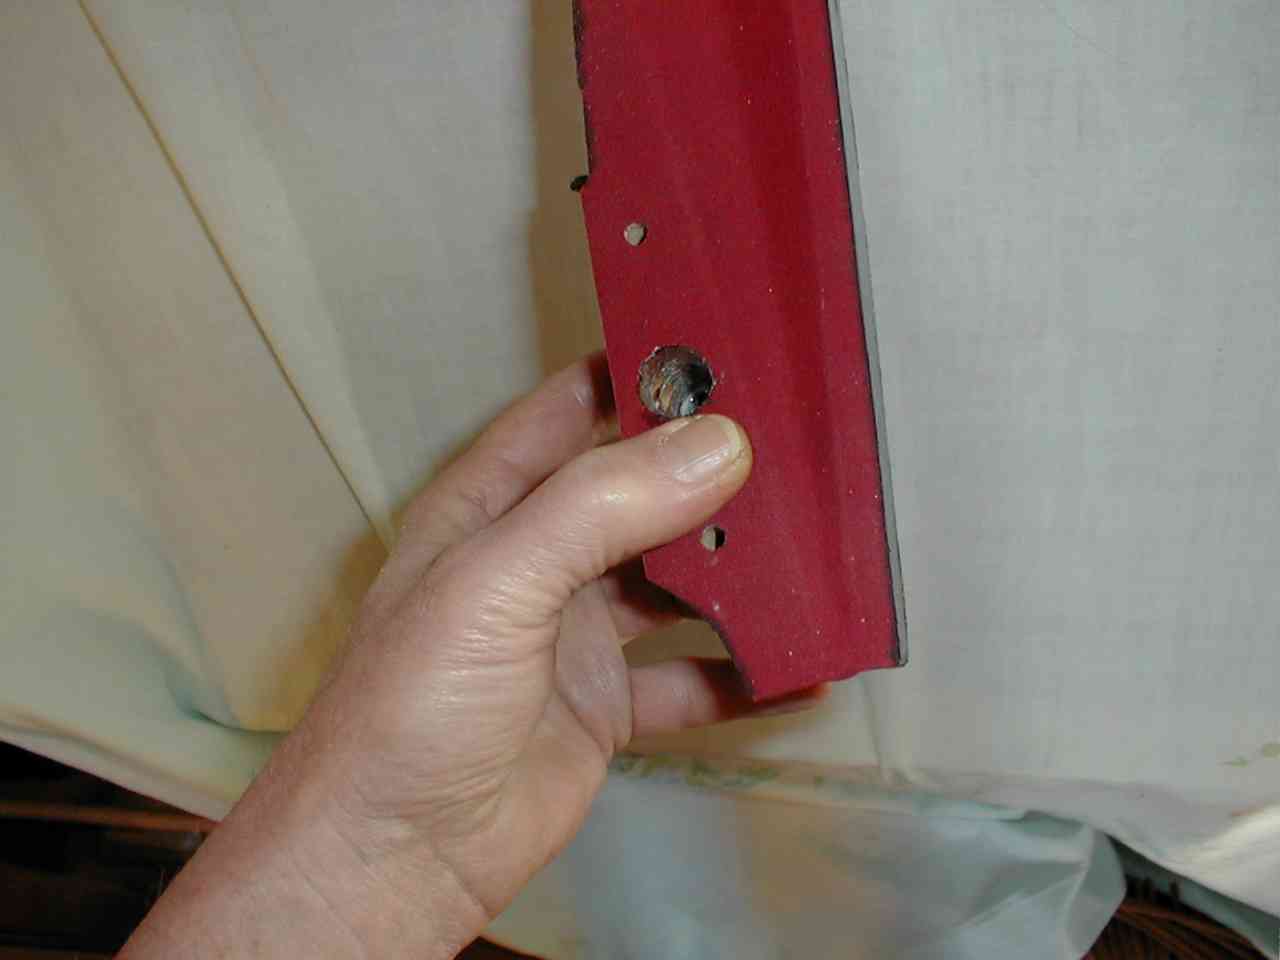
1 (1-7) Installing the hinge is an important first step. Insuring that the two bellows boards are square (or perfectly in line) is paramount. If you look closely at the first and second photos, you can see that there isn't enough glue on the hinge material. The photos were taken to show that even though it might look like there is enough glue on the wood to secure the hinge, there really isn't enough. Naturally, a second coating of glue was put on before the hinge was finally secured to the movable board. Then the two pieces were lined up against a straight edge and allowed to dry. (8-9) The second step begins with marking the cloth. This is done to insure that the ends of the boards get glued in the right place and also to insure that the span of the bellows is perfectly correct. After the ends are glued to the cloth, it's a good idea to check the outside edges (see arrow). Quite often the glue will squeeze out a small amount at that point. So that the tiny 'mound' of glue doesn't present a problem later, it's highly recommended that the mound be removed immediately. The eaiest way to do that is to take a knife and scoop under the mount, then drag it up and on to the verticle edge of the board, or outwards and away from the bellow. (10-13) This is just a little trick I learned from years of experience. What I'm doing is cutting the cloth at a 45 degree angle from the outer edge of the corner to the edge of the cloth. In photo 13 you can see that the excess cloth has been trimmed away. This is done for two reasons. One, if you wait until the glue is fully dry, it is much more difficult to cut it cleanly to the edge of the wood. This is because the glue is quite hard once it's fully dry. If the excess cloth is cut off while the glue is almost dry, it is much easier to trim. Secondly, since bellows cloth has a natural 'springiness' leaving the excess cloth in place when the sides are glued will actually have a tendency to pull the cloth away from the corner, creating a small leak. Removing the excess cloth makes it easier for the cloth to lay flat at the corner, thus eliminating the possibility of a leak. (14-16) As explained in the web page about Recovering Bellows, making sure that you use enough glue to get a perfect seal cannot be over emphasized. In photos 14 and 15 you can see voids where the glue has not transferred from the wood to the cloth, the first time the bellows was 'laid over'. In photo 16, you can see that the voids are now filled. A pattern like that in photo 16 will render a perfect seal. (17-18) Here the bellows is weighted and allowed to dry. This is done primarily as a precaution to prevent the corners from lifting as explained earlier in series 10-13. (19-20) As also explained in the 10-13 series of photos, I trim off the excess cloth before the glue hardens. When dealing with a complex bellows like the one in these photos, allowing the glue to fully dry not only makes trimming more difficult, it also increases the risk of damaging the wood. Trimming off the excess cloth, when there are semi-circles and other odd angles, can only be done with an Exacto knife, which is extremely sharp. Fighting against rock hard glue only makes the job more dangerous. (21-24) These photos show the pre-cutting of the overlapping ends of the bellow. Note that each side covers about 2/3rds of the end. This way, there is a good 1/3rd overlap - which I consider adequate. (Notice that I didn't say "right". Some rebuilders believe more overlap is better. My belief is that too much overlap will increase the stiffness of the bellows - more cloth and more glue! The only aim here is to get a perfect seal. The hinge provides the strength.) (25-29) As was explained in series 8-9, it's quite common for a small mount of glue to squeeze out at the end of the bellow. In this series of photos, I purposely left the mounds there to show you 'before' and 'after' shots. Here again, it is extremely important that the wood is free of any and all protrusions that would prevent the cloth from laying perfectly flat against the wood. (30-31) As before, the excess cloth is trimmed away shortly after gluing (photo 30), and in photo 31 you can see that the cloth is laying prefectly flat against the wood. (32) This is another 'trick of the trade' that very few rebuilders use. After both end flaps are glued in place, and the glue is not yet hard (or fully dry), the bellows is collapsed just enough so that the hinged end is perfectly flat. The "C" clamp holds the bellows in that position until the glue is fully dry. Here again, there are two reasons for this extra step. One is to prevent the cloth from pulling apart at the overlap because of the angular difference of the two bellows boards when the bellows is in the fully open position (see photos 10, 11, and 27). The second reason has to do with stretching of the cloth and the 'springiness' of the bellow. If the overlapped portion is allowed to dry when the bellows is in the fully open position, the cloth must stretch a tiny amount when the bellows closes. Over time, this will stretch the neoprene layer and cause it to age faster. Also, the bellows will be somewhat reluctant to collapse because the cloth is being stretched. Drying the overlapped portion when the bellows is almost fully collapsed thus gives the bellows a little more springiness and actually helps 'even out' the amount of effort required for the movable board to travel from fully opened to fully closed. (33-38) These are just various views of the nearly completed bellows, showing the overlap. If you look closely photo 33, you can see dimple where the left side of the cloth overlaps the right side. This area can be a trouble spot, and I've encountered numerous bellows that leaked at this point. This is one of those cases where a little bit of extra glue is a good thing. It's also an area where 'white glues' really fail to do the job. The problem with white glues is that they appear to squeeze at nicely at the overlap, and create a good seal. Unfortunately, as the glue fully dries, it begins to lattice, allow air to seep in. (39-42) This last series of photos shows the sealing of the vacuum channel that runs through the bellow. In most air motors, this channel runs through the main block, and the channel should be sealed with Phenoseal before the bellows are mounted to the block. |
We Gladly Accept These Cards

![]()
|
Since "Player-Care" is an internet business, I prefer that we correspond via E-Mail (click here to fill out the 'Request Form'). However, if I'm not in the middle of some other activity, you can reach me at 732-840-8787. But please understand that during the hours from 8AM-5PM EST (Mon-Sat), I'm generally quite busy. So, I probably won't answer the phone. If you get the answering machine, please leave a detailed message stating the reason for your call. Also, repeat your name and phone number clearly and distinctly. By necessity, I prioritize everything in my life. And, if you call and just leave your name and number, and ask me to call you back, it might be a day or two before I return your call. Why? Because I don't know why you want me to call and I might not be prepared to assist you in an effective and efficient manner. If you leave me an E-Mail address (which I prefer), spell it out phonetically. The more you do to help me, the more I can help you in return. Don't rush. You have four minutes to record your message. |
|
407 19th Ave, Brick, NJ, 08724 Phone Number 732-840-8787 (Voicemail Only, No Texts) |